How to Create and Share/Schedule a Post?
Introduction
SocialPilot offers a powerful and flexible platform for creating and scheduling posts across multiple social media accounts. Whether you're managing text, links, images, videos, or GIFs, SocialPilot makes it easy to tailor your content and manage your posting schedule efficiently.
In This Article
- How to Create a Post?
- How Does the Add to Queue Option Works?
- How Does the Schedule Post Option Works?
- How to Stagger Post on SocialPilot?
- How Does the Repeat Post Option Works?
How to Create a Post?
Creating a post on the SocialPilot dashboard is simple and customizable.
Follow these steps to get started:
- Before creating a post, ensure that your social media accounts are connected via the Connect Account page.
- Access the Post Creation Page. From the sidebar menu, click on Posts -> Create Post.
-
Type your text in the provided box. You can customize the content for each platform by switching from the Original tab to the individual platform tabs. This allows you to edit text, change images, add hashtags, and more. For Instagram, Facebook, and LinkedIn, you can even add the first comment by clicking on the comment button in the Original tab or using the designated box in the Instagram, Facebook, and LinkedIn tabs.
Note: If you are a premium Twitter user, you can tweet upto 25000 characters in a single tweet from the SocialPilot Create Post window.
-
Click on the Add Media icon to select an image from Google Drive, Box, Dropbox, or by entering an image URL. You can also choose an image from a site/blog link pasted in the text box or use stock images available via the Unsplash integration.

📋 Note: If you've entered a URL, you will see a preview of all images from that page. For Facebook, Twitter, and Tumblr, you can upload a maximum of 4 images per post. To replace an image from the link preview, hover over the image, click the camera icon with a plus symbol, and upload your preferred image. This applies to LinkedIn text/link posts only. Posts for Facebook, Twitter, and other platforms will follow the o.g. meta tag set on the URL.
Choosing a video:
Click the same Add Media icon and select a video from your computer. You can choose a thumbnail from the provided options.
Note: The 'Video Title' and 'Content Category' fields are available for YouTube posts only.
💡Note: SocialPilot supports the following video formats:
- .avi
- .mp4
- .mov
- .webm
Choosing a GIF:
Add GIFs to your posts by clicking the Add media from external source button and switching to the GIF tab. Select a GIF from the options available.

📋 Note: SocialPilot allows you to select either 4 images, a GIF, or a video. You cannot combine images, videos, and GIFs in a single post.
- Now choose account(s) from which you want to publish the post.
📋 Note: Due to Twitter's new guidelines, you can only schedule tweets to one Twitter account at a time. These guidelines prevent the use of multiple accounts to artificially amplify a message. More details on Twitter's guidelines can be found here.
- Choose a publishing option:
- Add to Queue: Schedule your post according to your predefined time slots.
- Share Now: Immediately publish the post across the selected platforms.
- Share Next: Schedule your post for the next available time slot, following the current time.
- Schedule Post: Set a specific date and time for your post to go live or select one of the AI-suggested times, outside of your predefined slots.
- Repeat Post: Schedule the same post to be repeated across selected accounts over a specific time period or choose AI-suggested times to repeatedly publish your post.
How Does the Add to Queue Option Works?
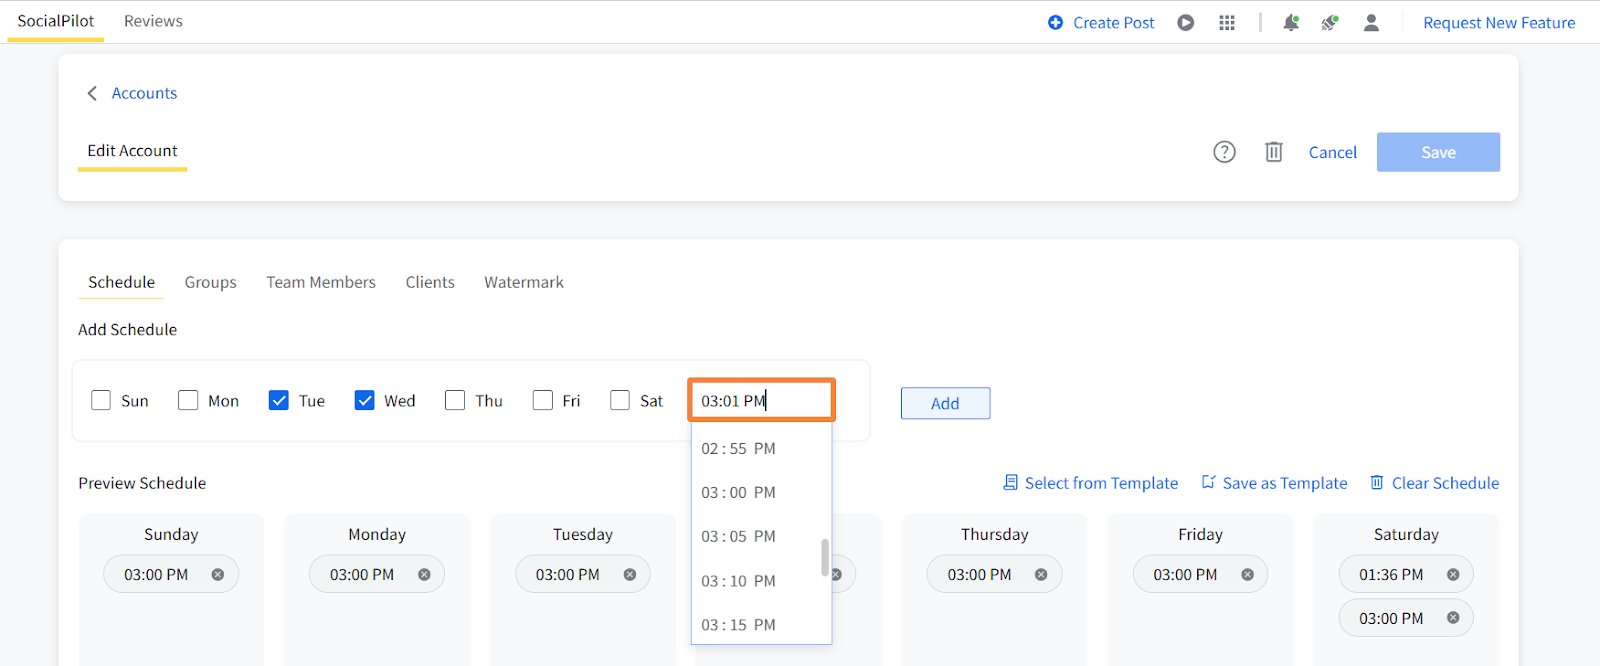
The Add to Queue option allows you to automatically schedule posts according to predefined time slots for each day and account:

- Manage Time Slots: Set up multiple time slots per day for each account in the Manage Accounts section.
- Automatic Publishing: When you add a post to the queue, it will automatically be scheduled for the next available time slot.
For example, if you have 14 posts in the queue, the first post will publish on Friday at 1:00 p.m., the second at 10:00 p.m., and the third on Saturday at 3:30 p.m.
How Does the Schedule Post Option Work?
The Schedule Post option gives you full control over when your content goes live.
There are two ways you can go to schedule your posts: manually or by choosing from the AI-suggested times.

- Set Date and Time: After clicking 'Schedule Post,' a pop-up window will appear where you can select a specific date and time for your post to be published.
- AI-Suggested Times: In the Schedule Post pop-up, you can also select times suggested to you, which have been analyzed by AI according to accounts you have selected and their followers' activity.
- Add Schedule: You can select multiple dates and times to repeatedly publish your post at, on all the selected platforms.
-
Stagger Posting Times: To avoid posting the same content simultaneously across different accounts, use the Stagger Post feature. This allows you to spread out the publishing times at intervals ranging from 15 minutes to 24 hours.


How to Stagger Post on SocialPilot?
- Once your post is ready, click on the Schedule Post option. A pop-up window will appear, allowing you to set a specific date and time for your post.
- In the pop-up window, look for the Stagger Post toggle switch. It is typically set to OFF by default.
-
Switch the toggle to ON to activate the feature.

- After activating the Stagger Post toggle, a dropdown list will appear, allowing you to select a time stagger interval between posts. You can choose intervals ranging from 15 minutes to 24 hours.
- Choose your preferred interval based on how much time you want between each post being published on different accounts.
- Once you have selected the time interval, SocialPilot will automatically calculate and display the staggered publishing times for each account. The order in which the posts will be published across the accounts is typically chosen alphabetically.
- Review the staggered schedule to ensure it meets your needs. If everything looks good, click the Schedule button to finalize the process.
- Your post will now be published across the selected accounts at the specified intervals, reducing the likelihood of repetitive content appearing simultaneously on all accounts.

Example: Let’s say you are scheduling a post for 5 different social media accounts and select a 30-minute stagger interval. If you set the initial publishing time for 10:00 AM, the post will be published on the first account at 10:00 AM, on the second account at 10:30 AM, on the third account at 11:00 AM, and so on.
How Does the Repeat Post Option Work?
Scheduling posts on repeat is a useful feature to keep your content visible and engage with your audience consistently over time. Whether you're sharing timeless content or repeating event posts, setting up a system for recurring posts will save you a lot of time and effort.
Here’s a step-by-step guide to help you schedule repeat posts.
-
Once you have created the post, go to the scheduling options and select Repeat Post from the Add to Queue dropdown.

-
A pop-up will prompt you to choose how many times the post should be repeated and over how many days.
Custom: Select this option if you want to set a specific number of days between each post.
Daily: Choose this to repeat your post every day. You can select this frequency for up to 31 days.
Weekly: Select this option to repeat your post every week. You can set this frequency for up to 1 year.
Monthly: Use this to have posts repeated once a month. This frequency can be set for up to 2 years.

-
Click Preview to see and adjust the dates and times for each repetition. If you are posting to multiple accounts, you can stagger the posting time for each account to avoid simultaneous posts across platforms. You can also select AI-suggested times to get the best results from your post.

- Once you are satisfied with the schedule, click Schedule to set up the repeated posts across your selected accounts.

📋 Note:
Users can choose up to 10 accounts for scheduling recurring posts. If you exceed this limit, the option in the dropdown will be disabled.