How To Add a Watermark to Images and Create Branded Posts?
Introduction
Maintaining a consistent brand image across various social media platforms is crucial. SocialPilot empowers users by offering them the ability to add custom watermarks to their image posts. This feature strengthens brand recognition and protects the visual content from unauthorized use. By embedding a watermark, businesses and creators can ensure their brand's presence is subtly showcased in every shared image, enhancing their market visibility and brand recall.
SocialPilot provides two methods for integrating watermarks: one allows for automatic application across all posts for an account, while the other offers customization for individual posts.
In This Article
Automatic Watermark Addition at an Account Level
You can set up a custom watermark for a single social media account, and every image post you publish from that point will have that watermark without fail. You upload any image you want and customize it within SocialPilot using the in-app editor. The resultant watermark you save for that specific account will be carried by every image post you publish through SocialPilot on that account.
Here are the simple steps to follow to set up a watermark for a specific social account:
-
Select Manage Accounts and choose the desired account.

-
Click on the Edit button.

-
In the edit menu, select Watermarks.

-
Now upload your watermark image. You can upload it from your cloud storage or local device or get it done from Canva. After uploading, you can adjust it using the in-app editor for any modifications such as cropping, filtering, or adding text.

⚠️ Note: The watermark image should be in PNG, JPG, and WEBP formats.
-
The next step is to set the opacity, size, and position of your watermark.

- After adjusting everything, confirm the watermark settings.
-
You can copy this watermark to other accounts as well by clicking on Copy to other account and then selecting the ones you want from the list.


📋 Note: Watermarks set at the account level are not customizable for individual posts within that account.
Adding Watermarks To Individual Posts
You can insert a custom watermark into a specific image post you want using the image editor to create customized image posts.
Here are the steps to follow:
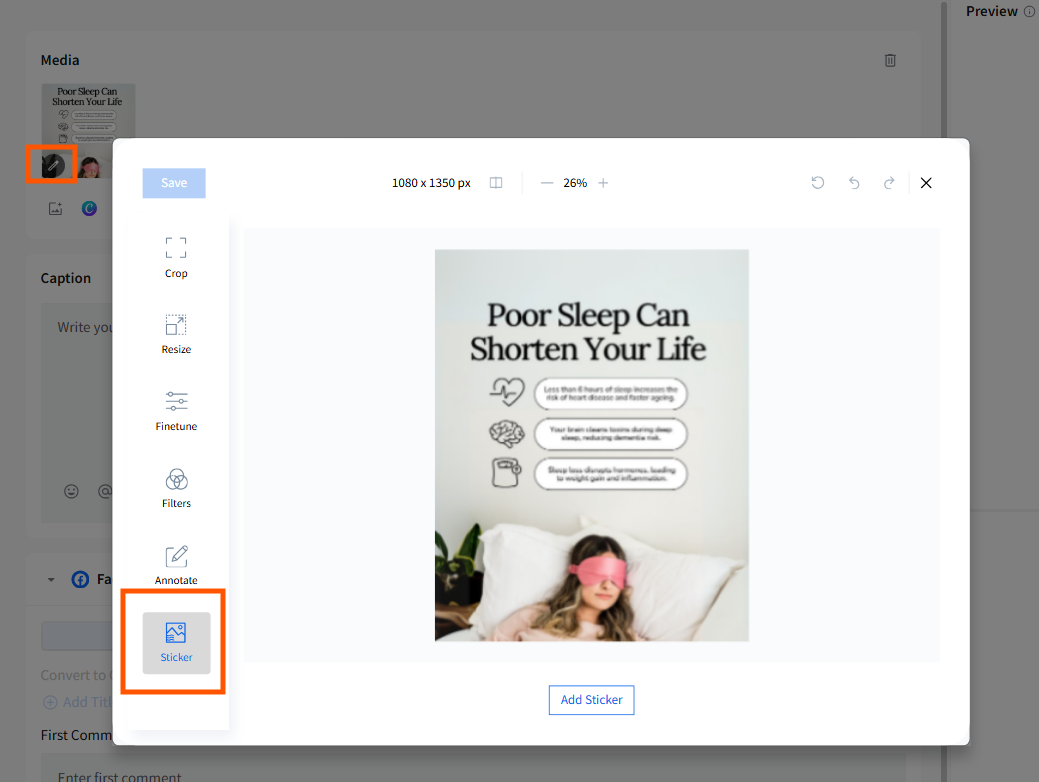
- Go to Create Post and upload your image in the Media section at the top of the composer.
- Now edit the image by clicking on the Image Editor icon that appears on the uploaded media.
- Go to Sticker in the editor menu and select your watermark image by clicking on Select Image.
- Position it and adjust the size and opacity to suit your brand aesthetics.

- Once satisfied, click Done to finalize the watermark.
📋 Notes:
- Edits are specific to the post and reversible until you finalize by clicking 'Done.'
- If you have selected multiple accounts and apply a watermark to the selected image in the Media section, that watermark will appear on the image for every selected platform. This applies regardless of whether the customization toggle is turned on or off.