What are Custom Fields on SocialPilot?
Managing multiple social media accounts, especially for clients like franchises or retail chains, often requires posting similar content with slight variations. Each post might need specific details, such as unique contact information or location, tailored to individual accounts.
Imagine a franchise with two restaurants. They share the same branding and menu, but their posts require different location details, like addresses and phone numbers. Manually updating these details across posts can be tedious, but SocialPilot offers an easy solution: Custom Fields.
In this article
- What are Custom Fields on SocialPilot?
- How to Set Up Custom Fields on SocialPilot?
- How to Use Custom Fields to Customize Posts?
What Are Custom Fields on SocialPilot?
Custom Fields let you save account-specific information, like addresses, contact details, URLs, taglines, and more. This way, you can quickly insert the relevant information into your posts without manually typing it out for each account.
Each Custom Field will have a unique value for every account you assign it to. When creating a new post, simply select the appropriate field, and the saved information will automatically be inserted into your content—saving you time and effort.
Check out this quick overview on how custom fields would help improve your productivity:
How to Set up Custom Fields on SocialPilot?
Setting up Custom Fields in SocialPilot is straightforward.
Follow these steps to set up Custom Fields on SocialPilot.
-
Go to the SocialPilot dashboard and click on Setup.

- Select Custom Fields.
-
Now click on the Add Custom Field button in the top-right corner.

-
Name your Custom Field (e.g., Address, Contact Info), select the account you want to assign the field to, and enter the value for this field (e.g., the address for the specific location).

- Repeat the same process for other accounts with the same Custom Field.
- After setting up Custom Fields, now click on Save.


Your Custom Field is ready to use in your posts! You can edit the values or add new accounts at any time.
⚠️ Note:
- Each account can have up to 500 Custom Fields.
- The character limit for each field is 1,000.
- Each Custom Field has a unique value per account.
How to Use Custom Fields to Customize Posts?
Once you have created your Custom Fields, incorporating them into your posts is simple. Just focus on the core content, and SocialPilot will handle the customization for each account:
Follow the steps below to know how to use a custom field to customize posts:
-
Go to Create Post and write the main content that will remain the same for all posts.
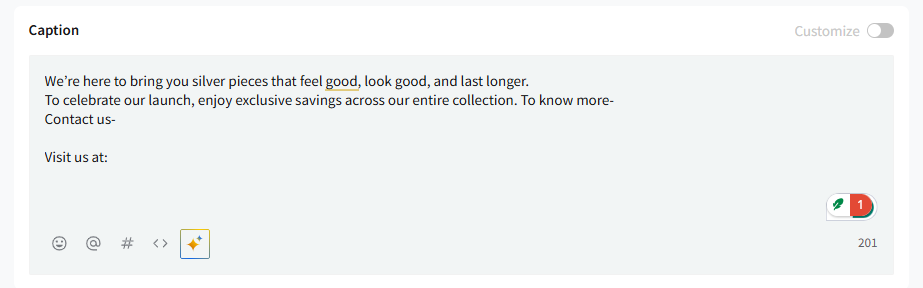
- Position your cursor where you want to insert account-specific details (e.g., "Contact Us").
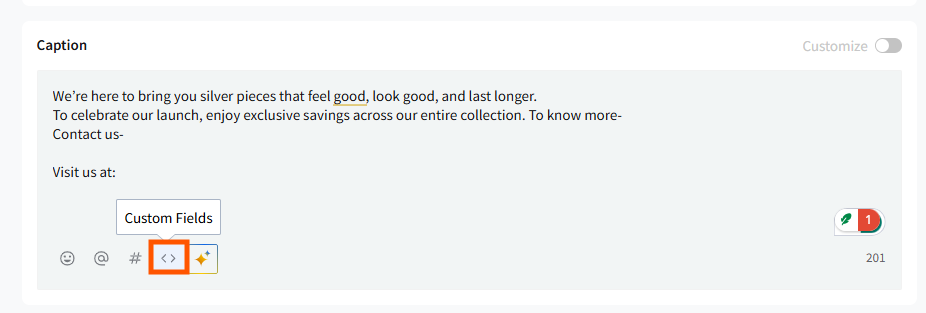
- Click the Custom Fields icon in the caption toolbar.

- The Custom Fields icon appears below the caption box along with emojis, mentions, hashtags, and AI Pilot.
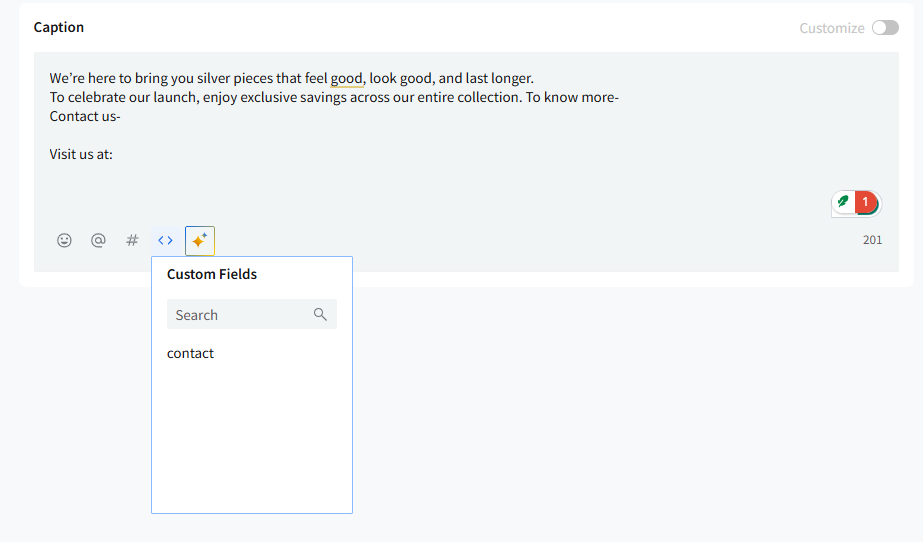
- When you click the icon, you will see the list of all Custom Fields you’ve created.
- From the list, select the appropriate Custom Field (e.g., Contact Info).
- The field name will appear inside your caption as a Custom Field token.
- This placeholder will automatically be replaced with the account-specific value when the post is published.
- Select the accounts you want to schedule the post for from the left-side accounts panel.
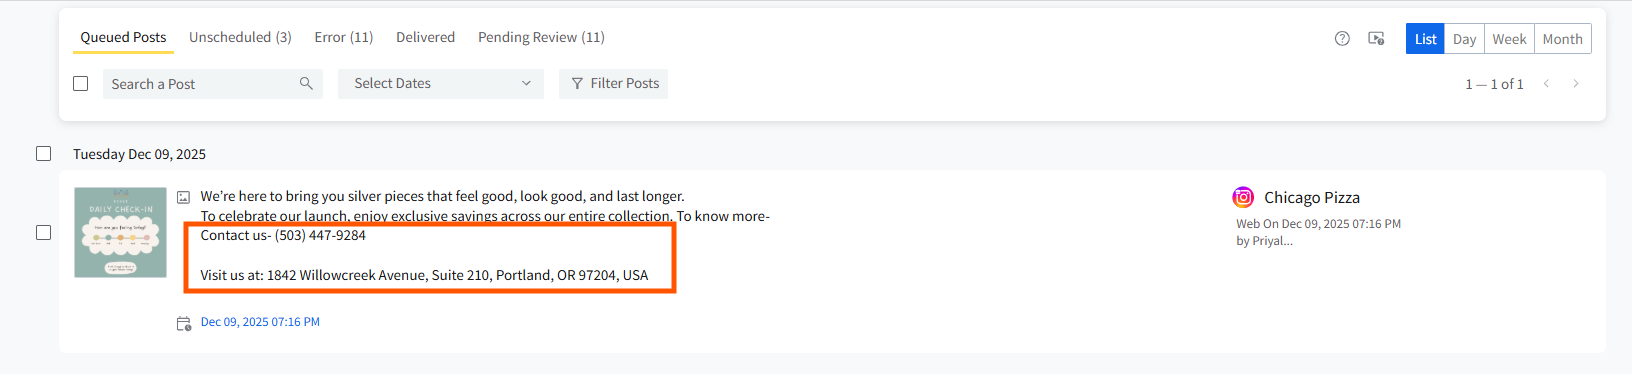
- To check the final result, go to Manage Posts and review your scheduled posts.
- Here, you will see that the Custom Field tokens have been replaced with actual values for each account.
- You can also refer to the Preview panel on the right side of the new Create Post to get an immediate visual confirmation.
Each post you scheduled for each selected account will contain the unique value that you entered during the setup of that Custom Field when it gets published.
This feature is only available for Agency plans and above. If you don't have that specific plan, click here to upgrade your subscription.
📋 Note:
Custom Fields can also be used inside the First Comment field for platforms that support scheduling first comments (Facebook, Instagram, and LinkedIn).
You will find the same Custom Fields icon inside the First Comment box under Platform Options.