How to Add a New Brand on SocialPilot Reviews?
The term ‘brand’ refers to the profile you create on SocialPilot Reviews, representing your business. Before you can start managing reviews, engaging with customers, or analyzing feedback on the platform, the very first action you need to take is to connect your brand.
Check out how you can add a new brand and set up your custom email on SocialPilot Reviews in this quick video.
How to Add a New Brand to SocialPilot Reviews?
Here is how you can add brands you want to manage on SocialPilot Reviews:
-
On your SocialPilot Reviews dashboard, find Setup and select Brands in the main menu.
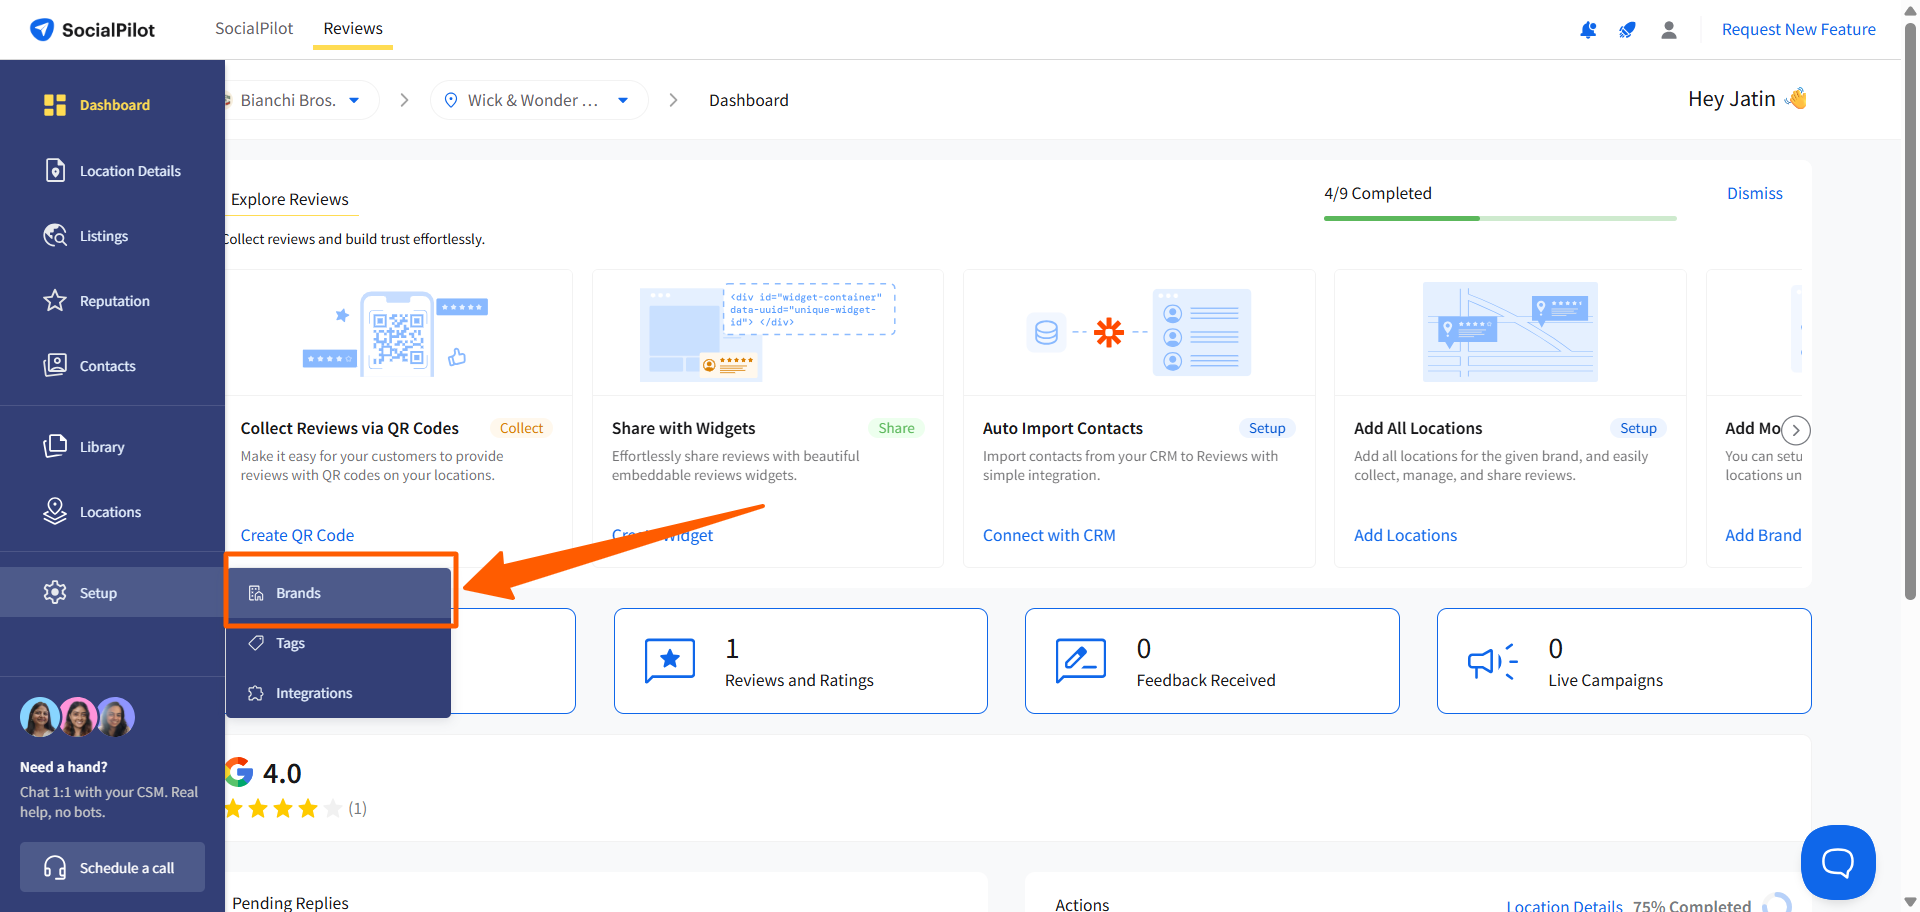
- Now, click on the Add Brand button.
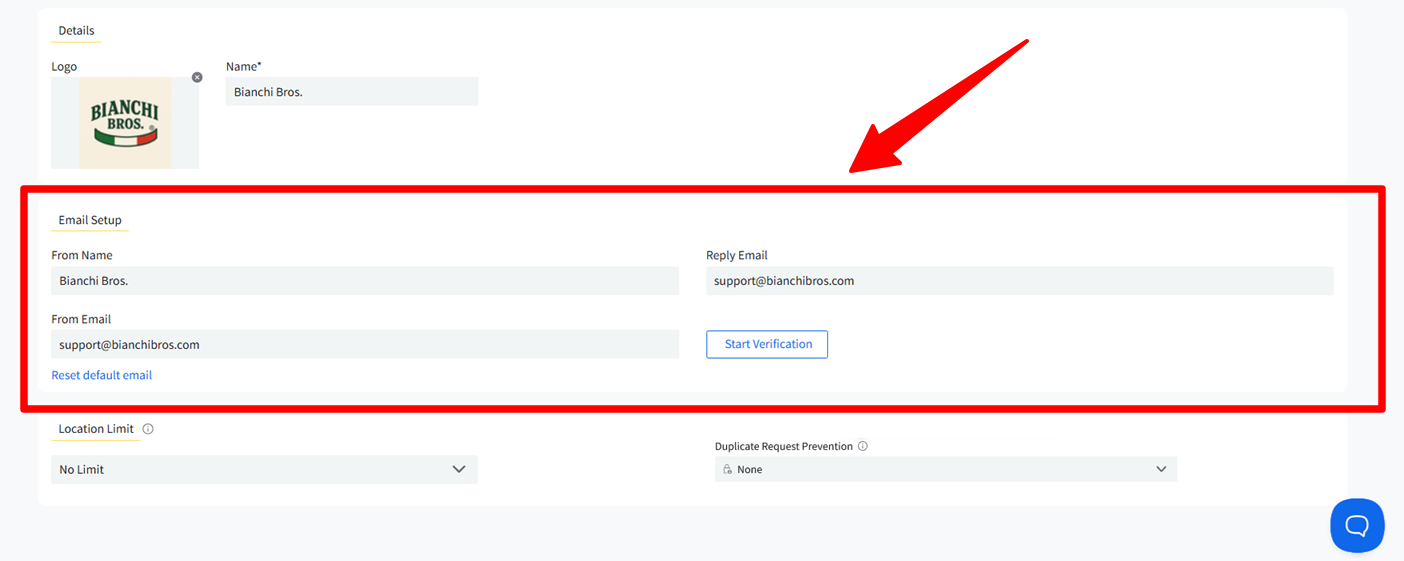
- Enter the name and logo of the brand.
-
You can add the custom email information, but it's an optional step for setting up a brand.
-
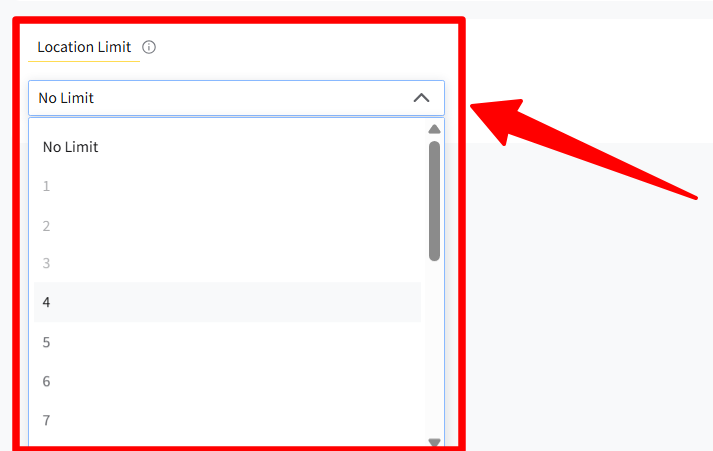
Set the Location Limit for the brand.
This setting helps you control how many locations can be connected to a single brand.
Choose the maximum number of locations that can be added under this brand. You can select a specific number or choose No Limit if you don’t want to restrict the number of locations.
-
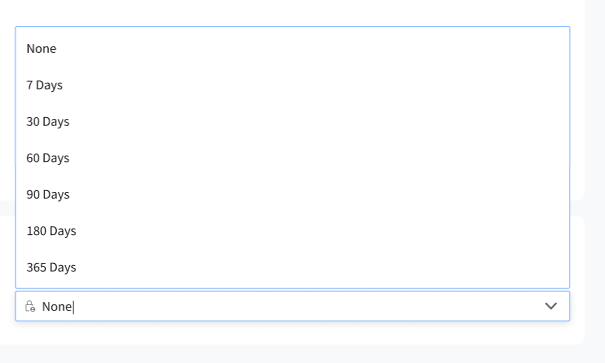
Configure Duplicate Request Prevention (Optional).
Set the number of days you want to prevent the same contact from being enrolled in new review campaigns after receiving a request.
You can enter a custom number of days or select None if you do not want to apply this restriction.
The maximum protection period allowed is 365 days.
This setting helps prevent duplicate review requests from being sent to the same contact within the selected time frame.
- Now click on Save.


- If a user is a team member on SocialPilot, the accounts they have access to on SocialPilot only will be shown on SocialPilot Reviews.
- You can use Custom links in email or SMS campaigns even if they don't pull reviews directly into the platform.
- The number of locations you can connect under a brand depends on your subscription plan. You can also set a maximum location limit for each brand from the Brand settings.
Remember to review the information to ensure accuracy and completeness before saving the location.
⭐ You can have multiple brands, which is particularly useful for agencies managing multiple businesses for different clients.
After saving your brand details, you will be prompted to an optional email set-up where you can fill in the details of how you would like your emails to go.