How to Create Campaign Workflow Templates?
Setting up a smooth and consistent campaign workflow is key to boosting your reviews and maintaining strong customer relationships. With Review Campaign Templates, you can quickly create, customize, and reuse successful workflows for review requests, feedback, and follow-ups.
This ensures that your campaigns are always on-brand, personalized, and ready to drive engagement, saving you time while improving your overall review strategy.
In The Article
How to Create a Campaign Template
-
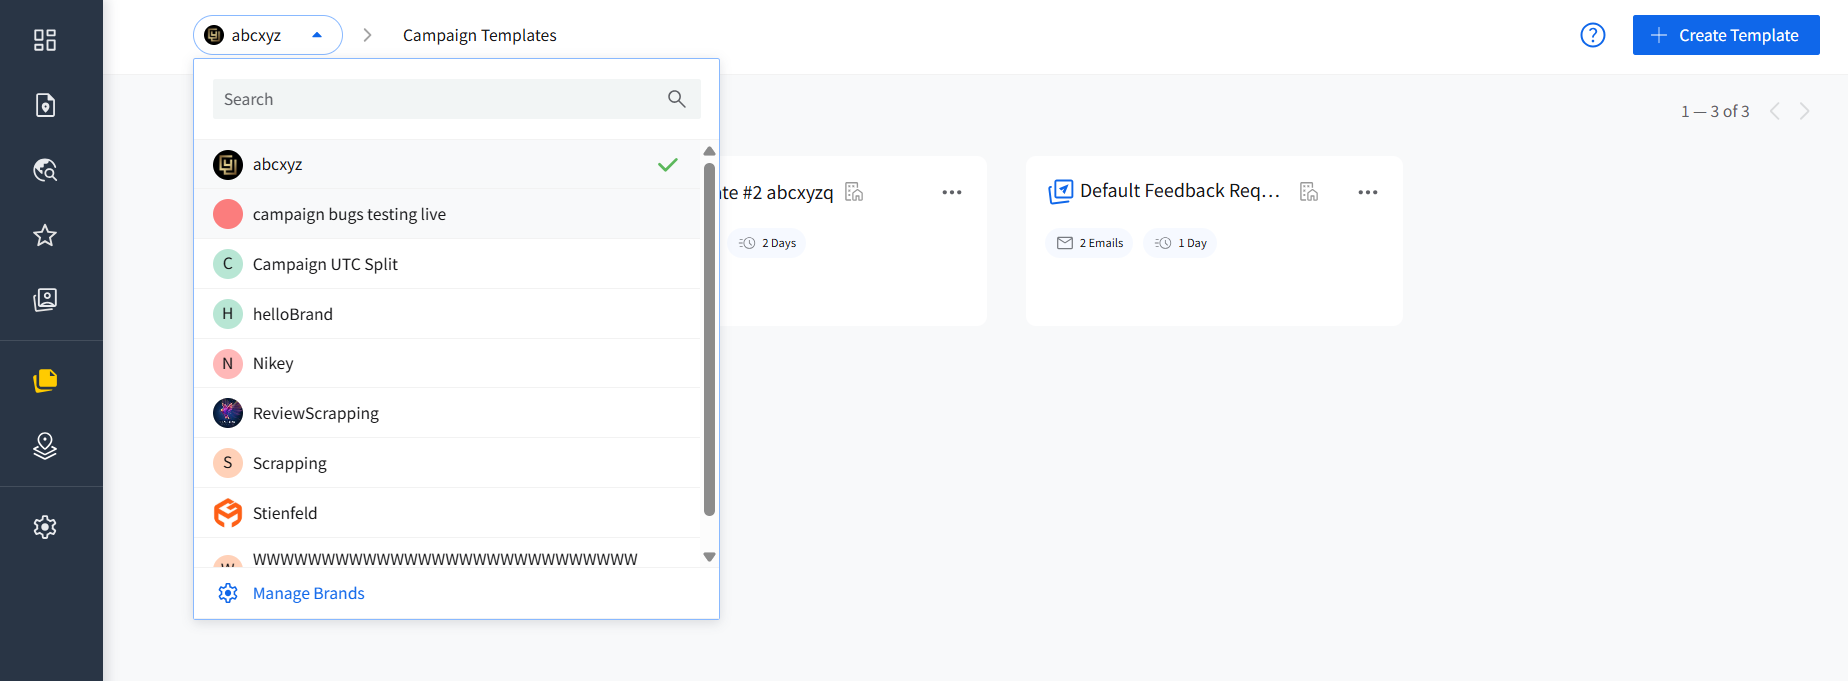
Head to the Library section in the main menu panel.
- Click on Campaign Templates from the side navigation.
-
Make sure you’ve selected the correct brand from the brand drop-down in the top navigation bar.
- Click on “Create Template”.
-
Rename the template from the system-generated name.

-
If you do not want to assign any brand to your template, just select the All Brands radio button.

- If you want to set the feedback page as your review destination link, check the given box beside the brand options.
-
Start by clicking on the +Add a Message button and then adding your first message—either an Email or Text message.

-
For email messages, you can add a custom subject. There are many options for text formatting, including the font family, font size, bold, italic, underline, and alignment options.

-
Add dynamic Custom Fields from the given options, including brand, location, first name, last name, and address.

-
For adding Review Links, you can either add a platform link or select the Feedback Page option. If you have already checked the box at the top for adding a feedback page, it will be added to the message.

-
Once you have created your own custom email in the campaign, you can add the next email or text message in the workflow by clicking on the +Add button at the bottom of the Create Template window.

-
You can set the gap between the two messages as per your requirement.

- Add messages and create the campaign workflow as you require.
- Once you are done, click on Save to save the template.


How to Manage Templates?
Actions:
Once you have created and saved a new template, you can
- See a preview
- Edit
- Create a campaign using the template
- Duplicate it and create a new template
- Delete

Navigation:
Since templates are saved under all brands or specific brands, their visibility depends on the brand you have currently chosen.
The templates, which are for all brands, have a distinct icon on them. If you hover over that icon, it will show a message "Available for all brands".

If you have chosen a particular brand and then go to the Template page in the Library, you will see templates for all brands and the ones created specifically for that brand.
To find a brand-specific template for a different brand, you need to switch brands from the dropdown menu at the top nav-bar on the page.

Location Assignment:
Since templates are created under brands, one or all, they don't have any locations assigned to them.

If you create a campaign from the templates page, you will first have to select the location for which you want to create the campaign for.
How to Use Templates For Campaigns
1. Create Campaigns From Templates
When creating a new campaign, you can opt for a workflow template.

This will populate the Workflow section of the new campaign with the contents you have saved in the selected template.
2. Add Template Within a Campaign
Even if you choose to create a campaign from scratch, you can add a template to fill in the workflow part of the campaign. You can use this even when you want to switch to a different template from the one you had selected at the start.

3. Save a Campaign as a Template
When you create a campaign from scratch and add a workflow, you can save it as a new template to be used later.
