How to Use Platform Options in the New Create Post Experience?
Every platform has its own publishing rules, formats, and fields. The Platform Options section, in the new Create Post, brings all of these controls into one place so you can set every platform-specific detail, such as post types, metadata, audience targeting, and video settings, without switching screens. This makes it easier to fine-tune your post for each selected account before scheduling.
In This Article
- What Are Platform Options?
- Where to Find Platform Options?
- General Behavior and Visibility Rules
- How To Use Platform Options
- Platform-Specific Controls
What Are Platform Options?
Platform Options are additional settings you can apply to your post based on the requirements or publishing capabilities of each social network. These options differ by platform and help you add elements such as-
- First comment
- Post type selection (Post/Story/Reel)
- Audience targeting
- Call-to-action buttons
- Location tags
- Collaborators (Instagram)
- Thumbnails, titles, subtitles (YouTube)
- And more
Where to Find Platform Options?
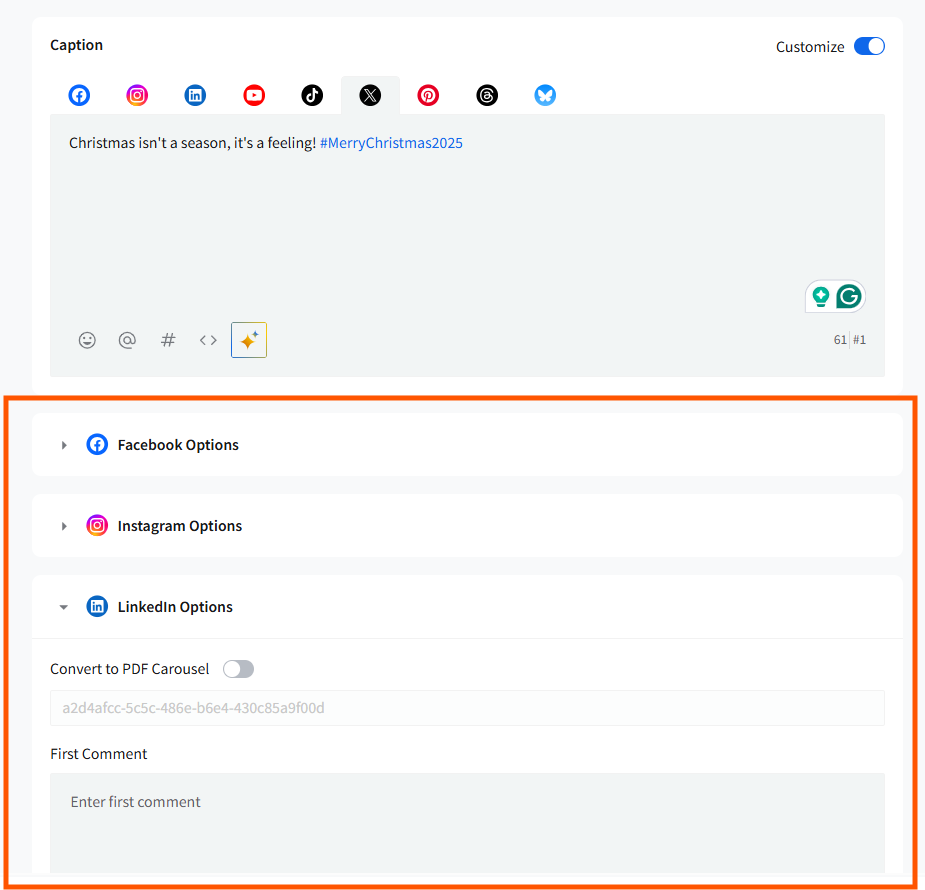
- Platform Options appear below the Caption area in the Create Post composer when at least one account for that platform is selected.
- Each platform's options are inside a collapsible section labelled with the network logo and name (order follows the Connect Accounts order).

General Behavior and Visibility Rules
- Single media type per post: The new Create Post supports only one media type at a time—images, video, GIF, or document. All Platform Options are available according to the media attached.
- Shown only when relevant: A platform’s options appear only if you have at least one account of that platform selected. The account can be in any state—connected, reconnect required, or paused.
- Follows account order: Platform Options appear in the same order as your selected accounts in the Connect Accounts panel.
- Per-platform fields stay per-platform: Items like first comment, tagging tools, and metadata appear only under that platform’s section—not at the post level.
How To Use Platform Options?
Pick the account(s) you want to publish to from the left Accounts panel. Then add media and write your caption in the caption editor.
- Open the platform section: Beneath the caption, expand the Platform Options for the platform you want to configure.
- Configure platform settings: Set post type and any per-platform controls (Post / Story / Reel, First Comment, Alt Text, Title, Destination URL, Target Audience, CTA, etc.).
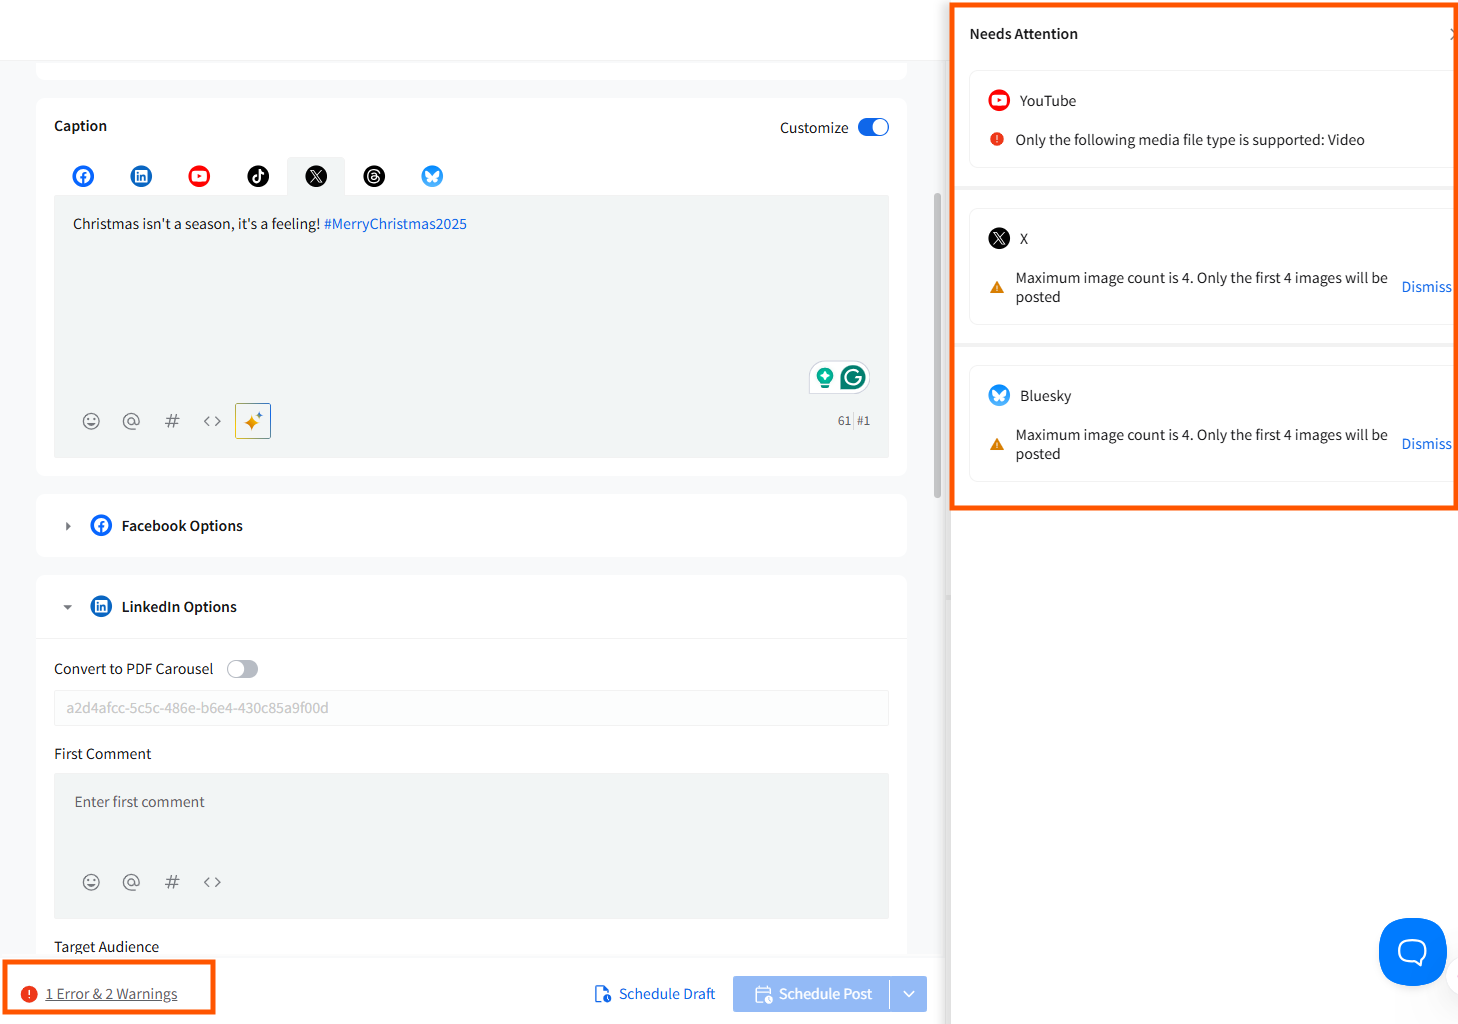
- Review preview & errors: Check the live Preview on the right and look at the Error label beside the Schedule button; click the label to open the Error Panel and resolve any items shown.
- Collapse sections if needed: Collapse platform sections to declutter the composer while you work.
- Schedule or publish: Once all required platform fields are valid and no blocking errors remain, schedule or publish your post.
Platform-Specific Controls
-
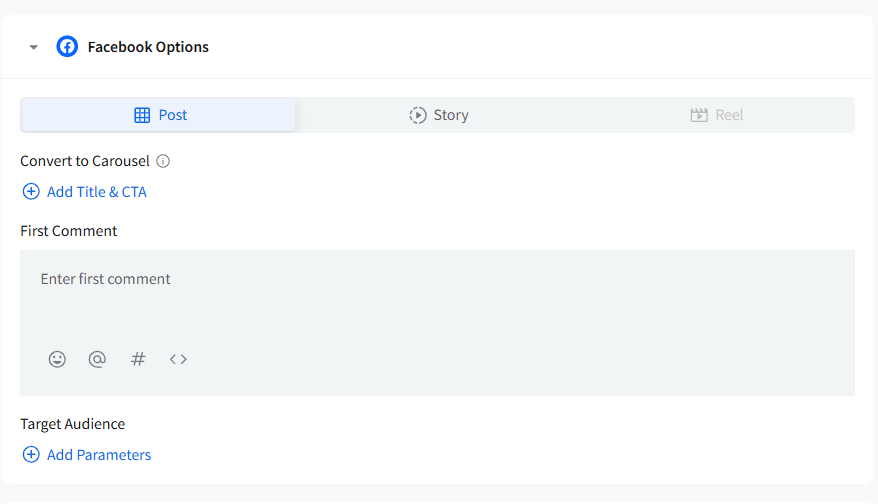
Post/Story/Carousel selector
Select the format from the tab at the top of Facebook Options.
- Convert to Carousel
- Available only when multiple images are added.
- Disabled when there is only one image.
- When enabled, every carousel card requires a Title and URL, and these fields become mandatory before you can save or publish.
-
First Comment
A First Comment field is available directly inside Facebook Options with emojis, mentions, hashtags, and AI Pilot support.
-
Carousel validation
If you complete carousel card fields and later add more images, the newly added cards may be missing their required Title/URL. When this happens:
- An error icon appears next to the carousel selector.
- The carousel cannot be saved until all mandatory fields are filled.
-
Content Category
Choose a category from the dropdown when publishing a Facebook Post.
-
Target Audience
Open the Facebook Target Audience modal from within Facebook Options to add Preferred or Restricted audience settings.
-
Helpful Tooltips
Facebook shows clarifying messages wherever a setting is required, unsupported, or depends on platform rules.
Instagram (Business & Creator)
-
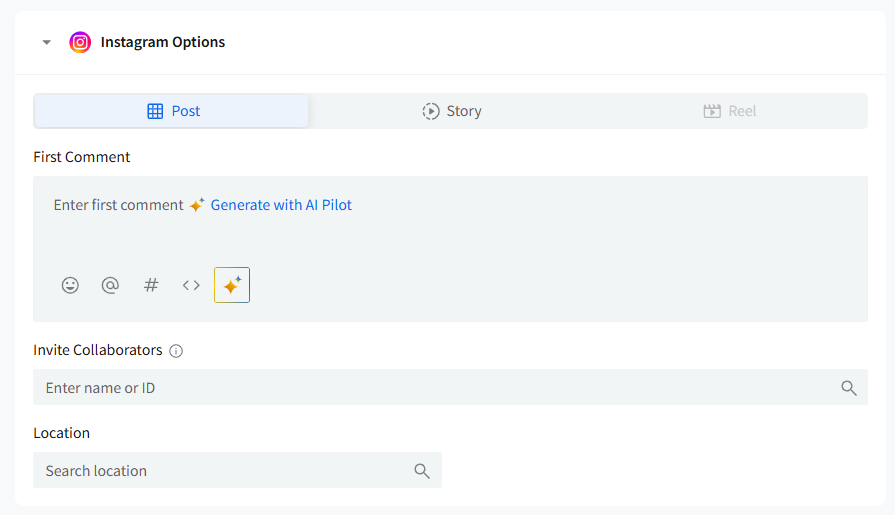
Post/Story/Reel Toggle:
Choose the post type from the tabs.
If your first uploaded file is a Reel-compatible video, the Reel option activates automatically for all selected Instagram accounts.
-
Publish Via
Choose Direct Publishing or Mobile Reminder, depending on account type.
-
Share to Feed (Reels)
For professional accounts, a Share to Post Feed toggle appears. Default = Yes.
-
First Comment
Add an Instagram First Comment within Instagram Options, with emojis, mentions, hashtags, and AI Pilot.
-
Tag People on images/videos
A Tag People option appears on each media card. You can tag public profiles within Instagram’s limits.
-
Alt Text & Additional Media Metadata
Alt text and other metadata fields appear when you have at least one connected professional Instagram account.
-
Audio Title & Custom Thumbnail (Reels)
Update the audio title and upload a custom Reel cover from the video options.
-
Invite Collaborators
Add collaborator names or profile IDs from the Invite Collaborators field.
-
Location Tag
Add a location directly from Instagram Options.
-
Image order in preview
If you rearrange media inside Instagram Options, the same order appears in the Instagram preview.
-
Convert to PDF Carousel
Available for multi-image posts. Converts your images into a PDF carousel for LinkedIn.
-
First Comment
Add a First Comment from the LinkedIn Options section.
-
Edit Article Preview
Shown when the connected account type supports editing article previews.
-
Target Audience
Open the LinkedIn Audience modal from inside LinkedIn Options.
LinkedIn rules (e.g., minimum 300 followers for a demographic) appear inside the modal.

Google Business Profile Options
Call to Action
Add a CTA button and Title using Add Title & CTA.

-
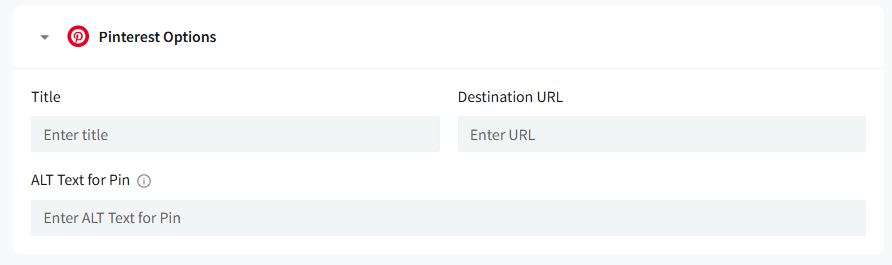
Title & Destination URL
For Pinterest posts, the Title and Destination URL fields are available in Pinterest Options.
-
Alt Text
You can add Alt Text for Pins (up to 500 characters).
-
Multi-Image Pins
SocialPilot allows one Title and Description for multi-image Pins.
For carousel-style Pins, you can either apply the same Title/URL to all images or enter them individually. If multiple images are uploaded and no image is selected, the first is used for the preview.
-
Full URLs Only
Pinterest flags shortened URLs as spam. Use full destination URLs.
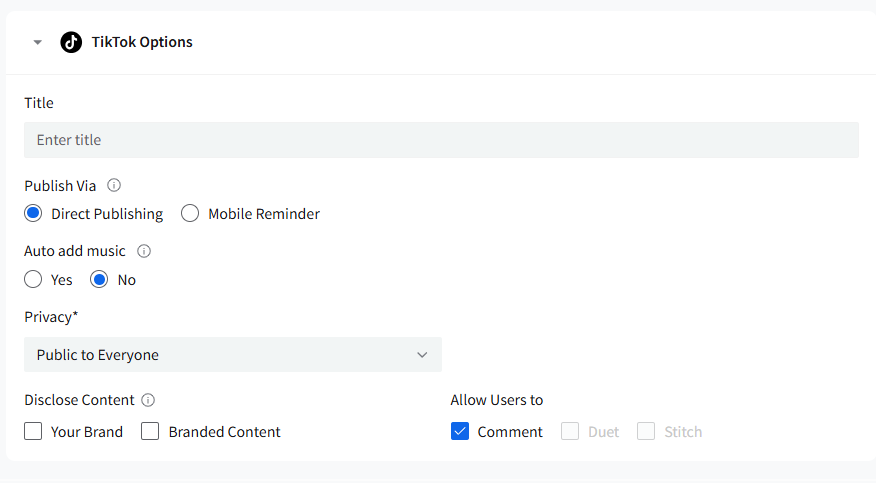
TikTok
-
Publish Via
Choose Direct Publishing or Mobile Reminder depending on what is supported for your TikTok account.
-
Video Metadata
Fields include:
- Video Title (with AI Pilot assistance)
- Privacy (Public / Mutual Friends / Self)
- Branded Content/Disclosure
-
Allow Users To: Comment, Duet, Stitch
TikTok may override these if your account settings restrict them.
-
Music & Additional Controls
Fields such as Auto Add Music appear when supported by the account and API.
-
Validation
Video length, size, and format issues appear in the Error Panel and must be resolved before scheduling.
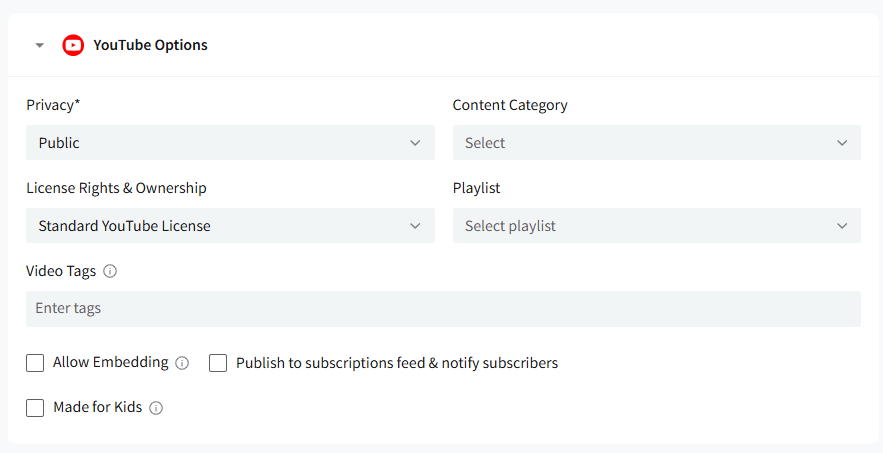
YouTube
-
Privacy
Choose the visibility of your YouTube post.
-
Content Category
Select a category for your video.
-
License Rights & Ownership
Choose the appropriate license from the dropdown.
-
Playlist
Assign your video to a playlist.
-
Video Tags
Add tags relevant to the video content.
-
Allow Embedding / Notify Subscribers / Made for Kids
These toggles appear based on YouTube publishing requirements.
-
Thumbnail Selection
Choose a thumbnail from auto-generated stills or upload your own custom thumbnail.
-
Subtitles
Upload one subtitle (.srt) file per video.
- Video Format Checks
If your video doesn’t meet platform requirements, a corresponding warning or error appears in the Preview/Error area.
Related Articles:
-
Can I Save Posts as Drafts on SocialPilot in the New Create Post Experience?
-
Using the Accounts, Groups & Clients Panel in the New Create Post
-
How to Choose a Target Audience While Creating a Post in the New Create Post?
-
How to Use the First Comment Feature in the New Create Post?
-
How to Tag People/Pages While Creating Posts in the New Create Post?
-
How to View Social Previews in the New Create Post Experience?