Is It Possible To Share Instagram Reels From the New Create Post Dashboard?
Instagram Reels can be easily scheduled and posted directly from SocialPilot, making it easier to plan and manage short-form video content alongside all your other posts. With Meta’s Reels API support, SocialPilot enables professional Instagram accounts, Business, and Creator, to publish Reels either directly or through mobile reminders.
For Personal profiles, you can't publish Reels directly, but use a mobile reminder to complete the process.
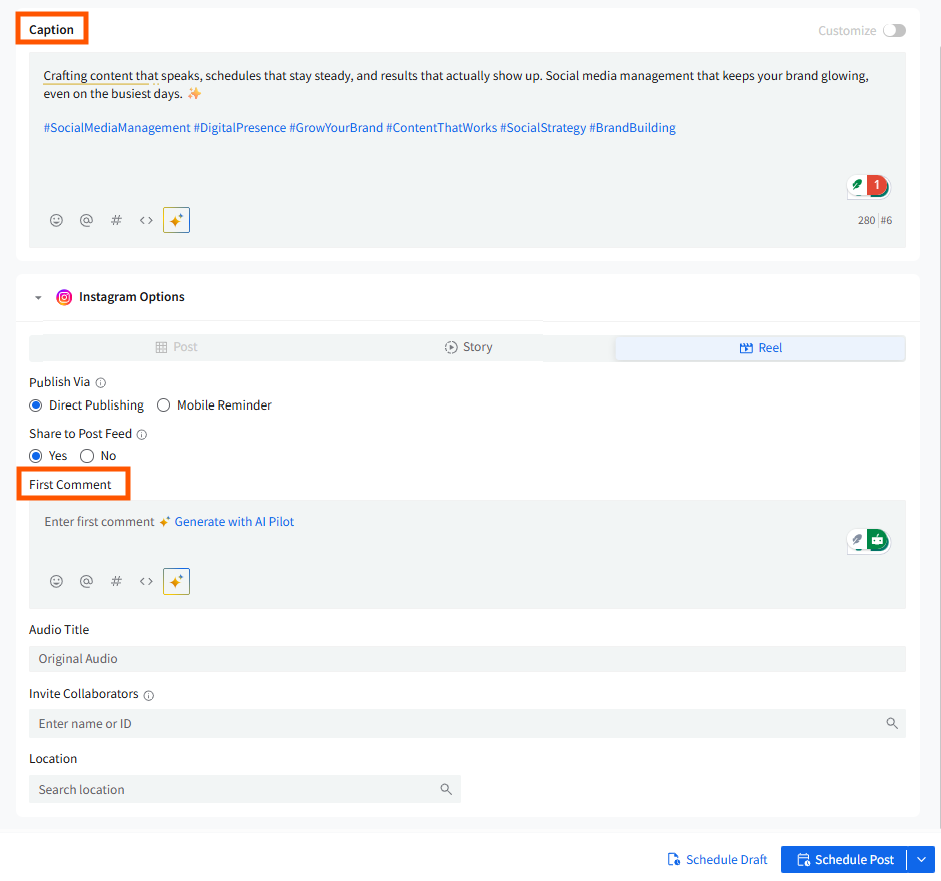
With the redesigned Create Post experience, all Reel-related settings now appear clearly inside the Instagram Options panel, while the Preview and Error panels on the right help you verify how your Reel will appear and alert you instantly if any Reel-specific requirements are not met.
This makes managing multiple Instagram accounts and various content formats much easier in one organized space.
In This Article
Criteria for Posting Instagram Reels
Here are the requirements you must follow before scheduling a Reel:
- The Reel length must be between 3 seconds and 15 minutes.
- The aspect ratio must be between 0.01:1 and 10:1.
- You can add up to 30 hashtags.
If any of these criteria are not met, an error message will appear in the Error panel on the right. You will not be able to schedule the Reel until all requirements are fulfilled.
📋 Note: Only one Reel can be scheduled at a time due to Instagram restrictions.
How To Publish Reels From SocialPilot?
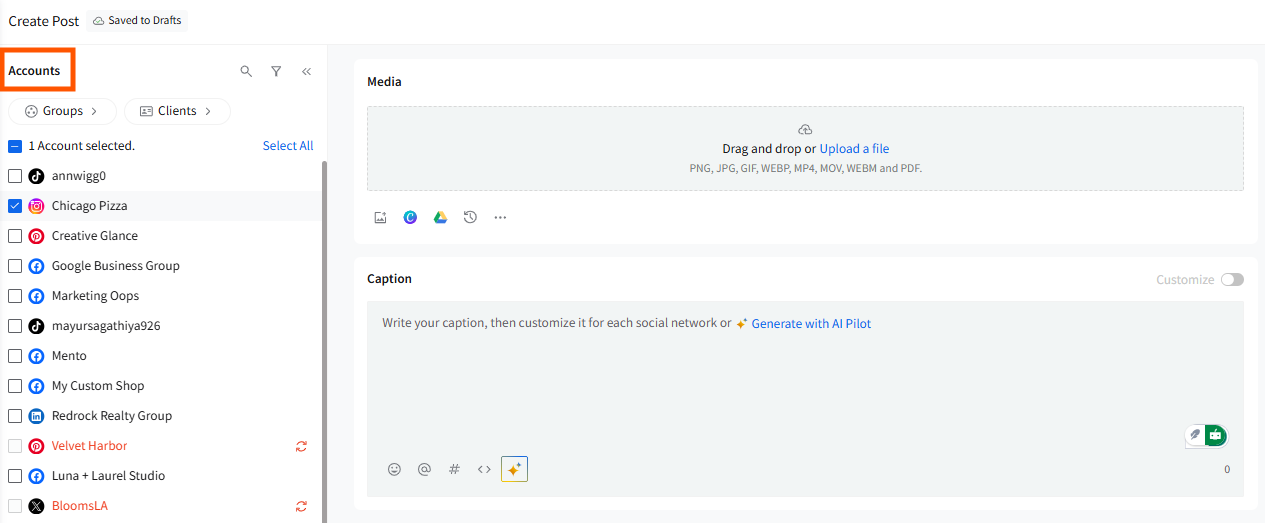
- Sign in to your SocialPilot account and go to Create Post.
- Select the Instagram account(s) from the left Accounts panel.
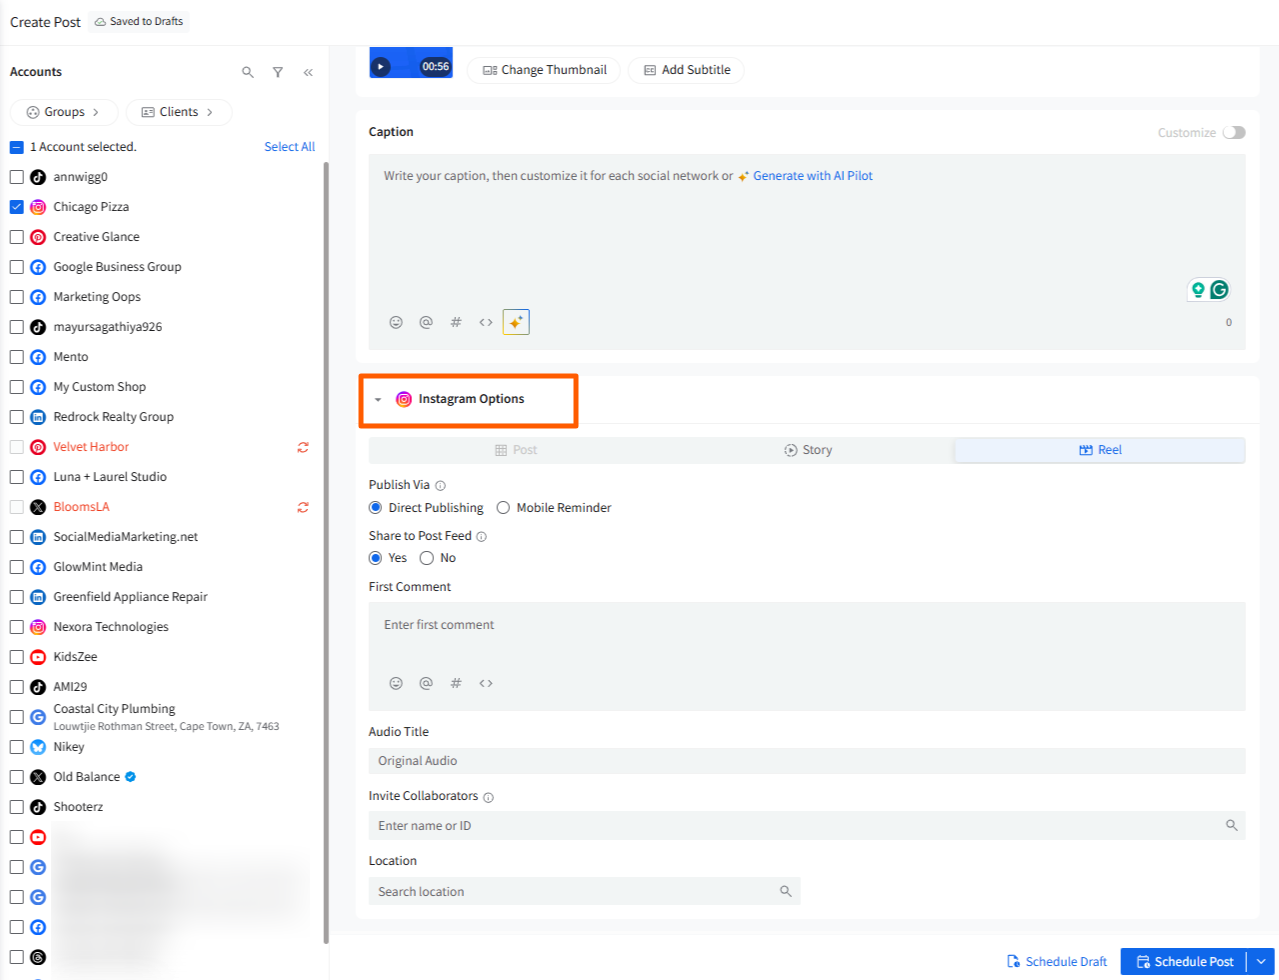
- Scroll to the Instagram Options section and switch the format from Post or Story to Reel.
- Upload your video from your local device or from Google Drive, Dropbox, or Box. Recently uploaded media from the past 7 days will also appear in the Recently Uploaded section. A Reel preview will appear on the right preview panel as soon as media is added.
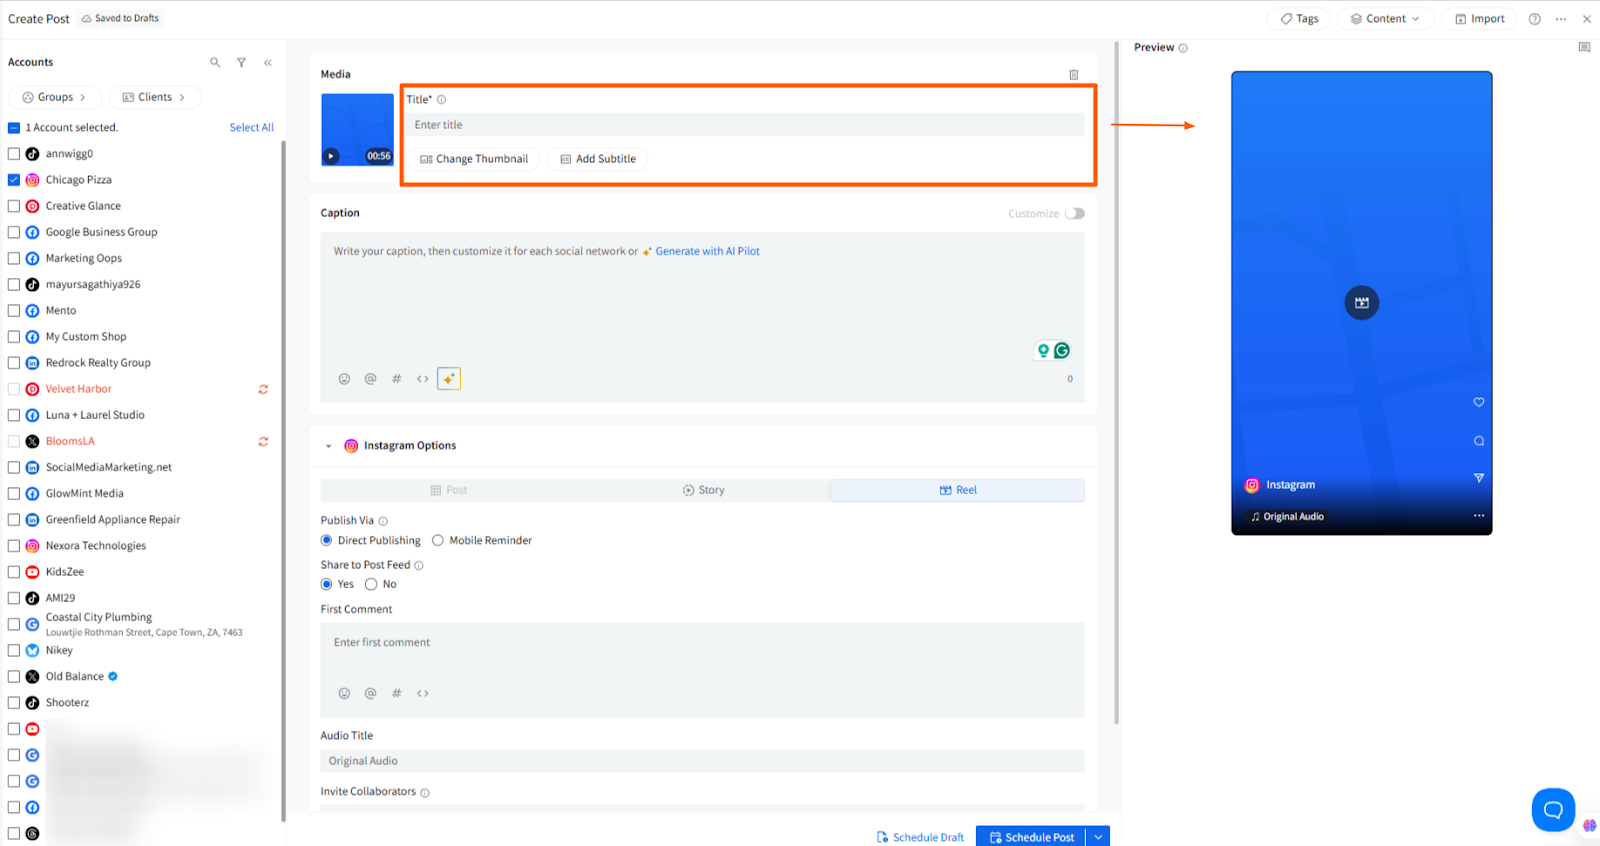
📋 Note: If you add a Reel video immediately after selecting your Instagram account, the Reel format in Instagram Options will be activated automatically. There’s no need to manually switch to the Reel option.
- On the added media, you will see a three-dot icon menu that will allow you to Tag People or delete the media.
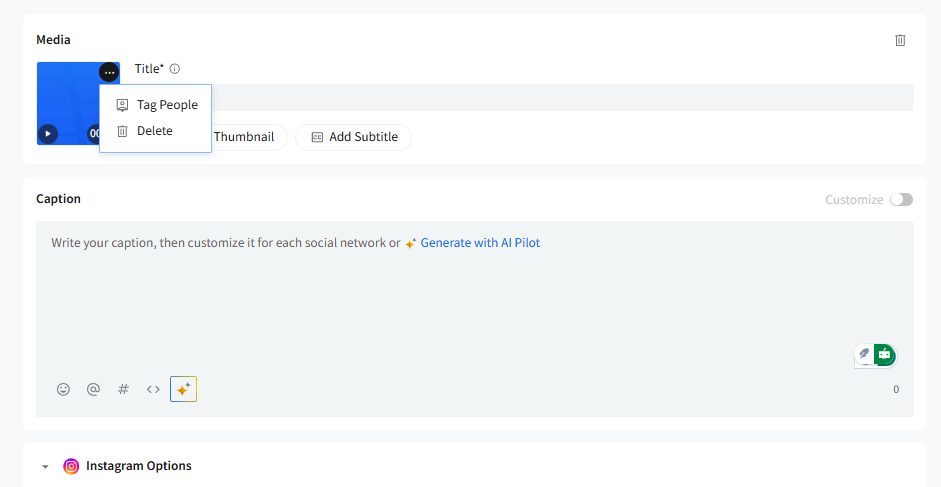
- You can also change the thumbnail or add subtitles right from the media section.
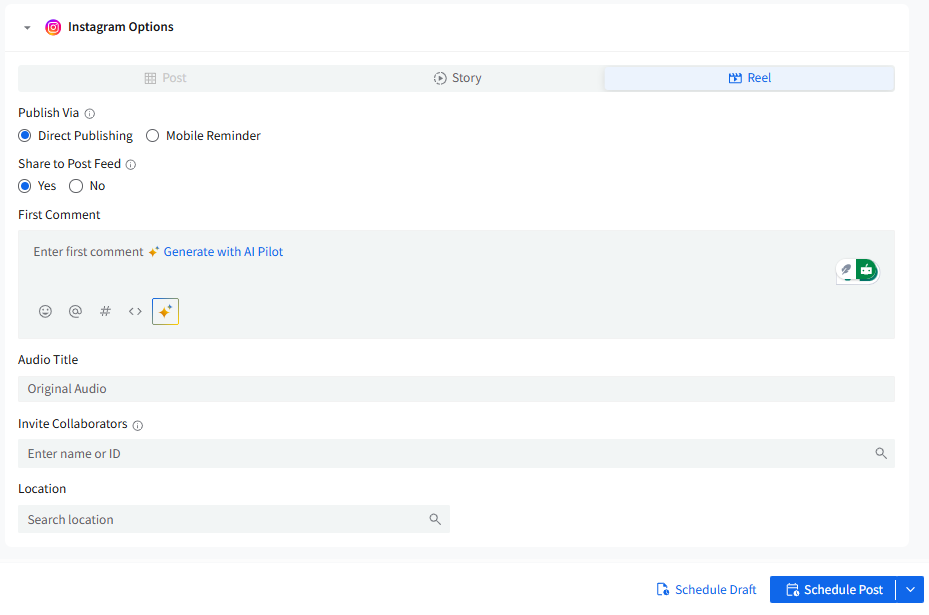
- Add your caption and hashtags in the main caption editor. If the Reel will be published directly, you can also add a First Comment under Instagram Options.
📋 Note:
The caption area is now cleaner and more unified. AI Pilot, mentions emojis, hashtags, and Custom Fields all work directly within the same editor, so everything you need for your Reel caption is available in one place.
- Customize the Reel further inside Instagram Options by setting a custom Audio Title, inviting Collaborators, adding a Location, and selecting whether to Share to Feed.
- Choose the publish method. Business and Creator profiles support both Direct Publishing and Mobile Reminder. Personal profiles can only be published via Mobile Reminder.
- Select your preferred scheduling option and schedule the Reel.
📋 Note: Due to Instagram limitations, only one Reel can be scheduled at a time.