How to Customize Posts for Google Business Profile in the New Create Post?
Google Business Profile (GBP) listings are essential for businesses of all sizes. A well-managed GBP listing can increase your business's visibility, build credibility, and drive more foot traffic to your location. With SocialPilot’s redesigned Create Post experience, you can customize your GBP posts more efficiently with a streamlined media workflow, direct access to recently uploaded assets, and quicker access to CTA options—all while managing content alongside other social platforms in one place.
In this guide, we will explore how to make your GBP listing stand out using SocialPilot.
In This Article:
- Types of Posts You Can Create
- Adding a Link Post
- Creating an Image Post
- Using the Call to Action (CTAs) Button
- Publishing Images from Canva
- Adding Emojis
- Using Custom Fields
- Adding Custom UTM Parameters
Types of Posts You Can Create
SocialPilot allows you to create various types of posts for your Google Business Profile, including:
- Link post
- Image post
- Posts with CTAs
Note: Google Business Profile supports only image posts and link posts. Videos are not supported by GBP’s API.
Adding a Link Post
Link posts are a great way to direct traffic from your GBP listing to a specific webpage, whether it’s your homepage, a product page, or a blog post. Follow the steps to add a link post:
- Click on Posts >> Create Post in the sidebar menu of your SocialPilot account.
- Type the content of your post in the caption box.
To create a Link Post, include the URL along with your post content.
The link preview will appear in the Post Preview panel on the right. The URL shortener will become active only when you add a URL to your caption.
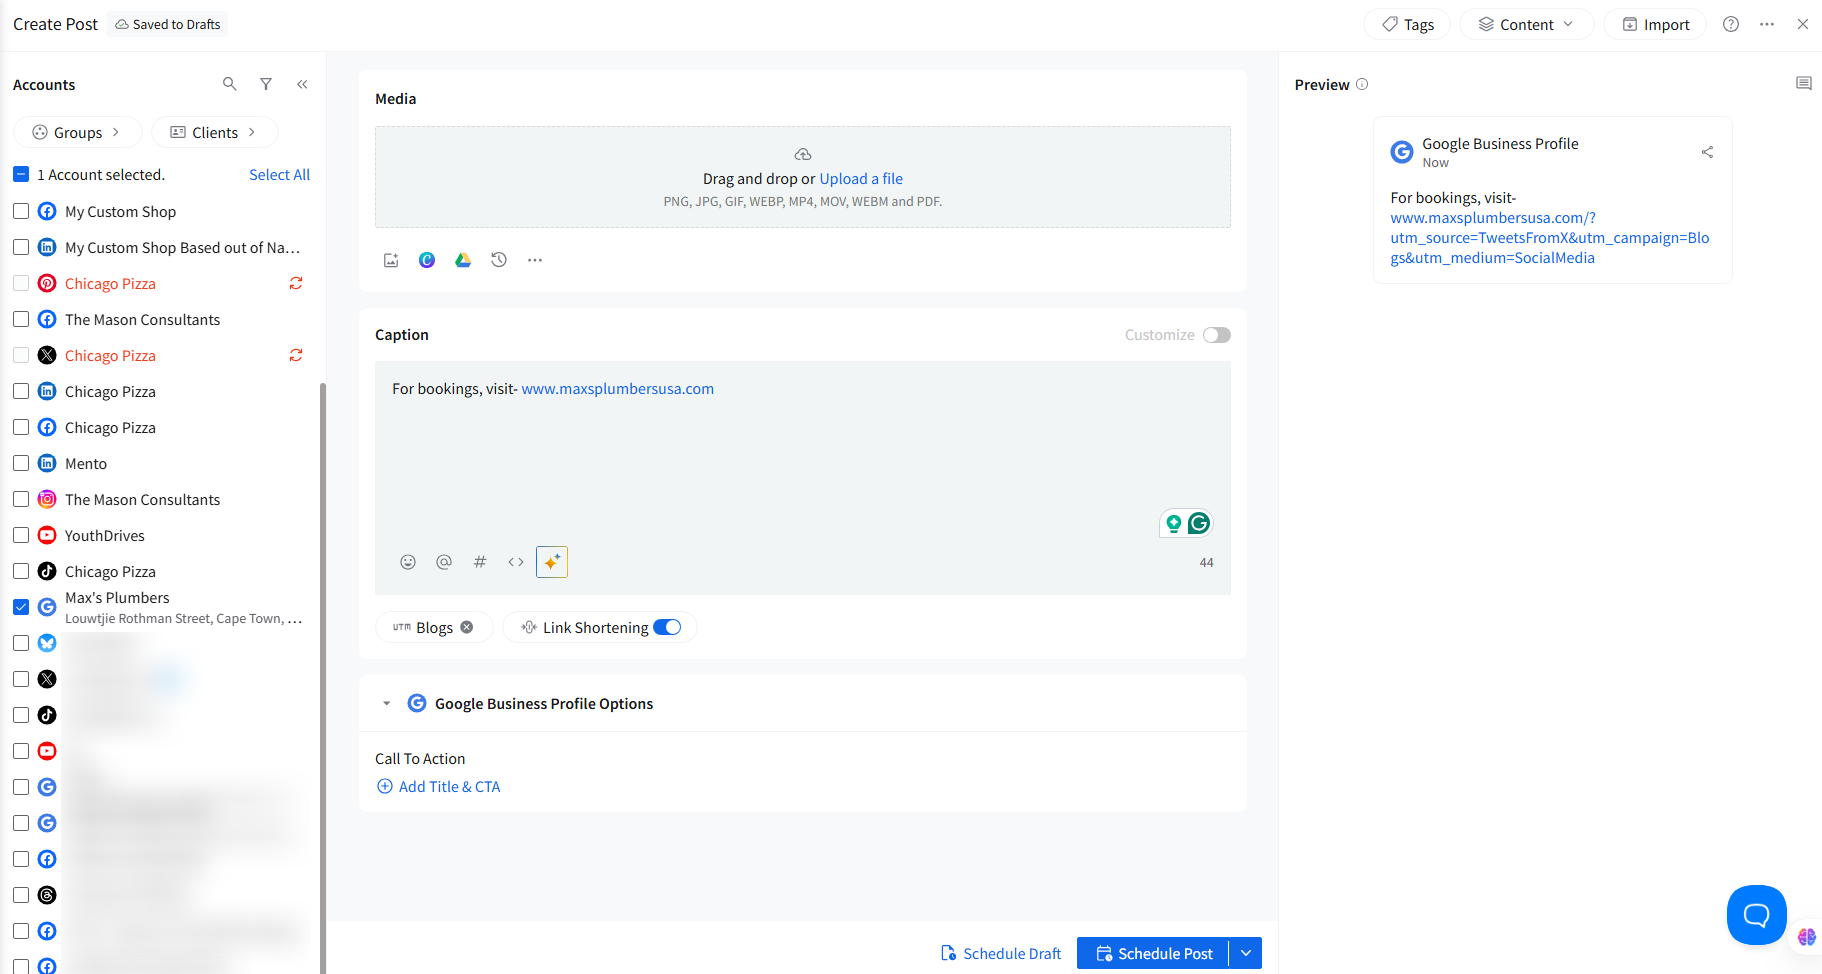
Note: UTM parameters (if enabled) will automatically append to your link.
Select your Google Business Profile accounts from the left-side accounts panel and schedule your post using any scheduling option.
Creating an Image Post
Image posts can visually enhance your GBP listing, making your business more attractive and engaging to potential customers. Here is how you can create an image post:
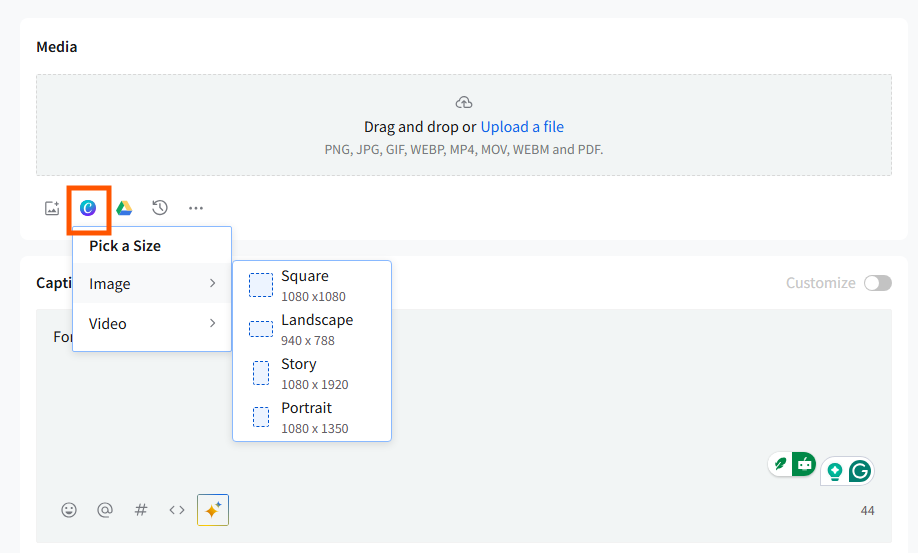
Upload images from your local device, Google Drive, Dropbox, or Box, or create one on Canva by clicking on the Media section at the top of the composer.
You will also see:
- Recently Uploaded media
- External media sources (Unsplash, GIPHY for GIFs—though GBP does not support GIFs)
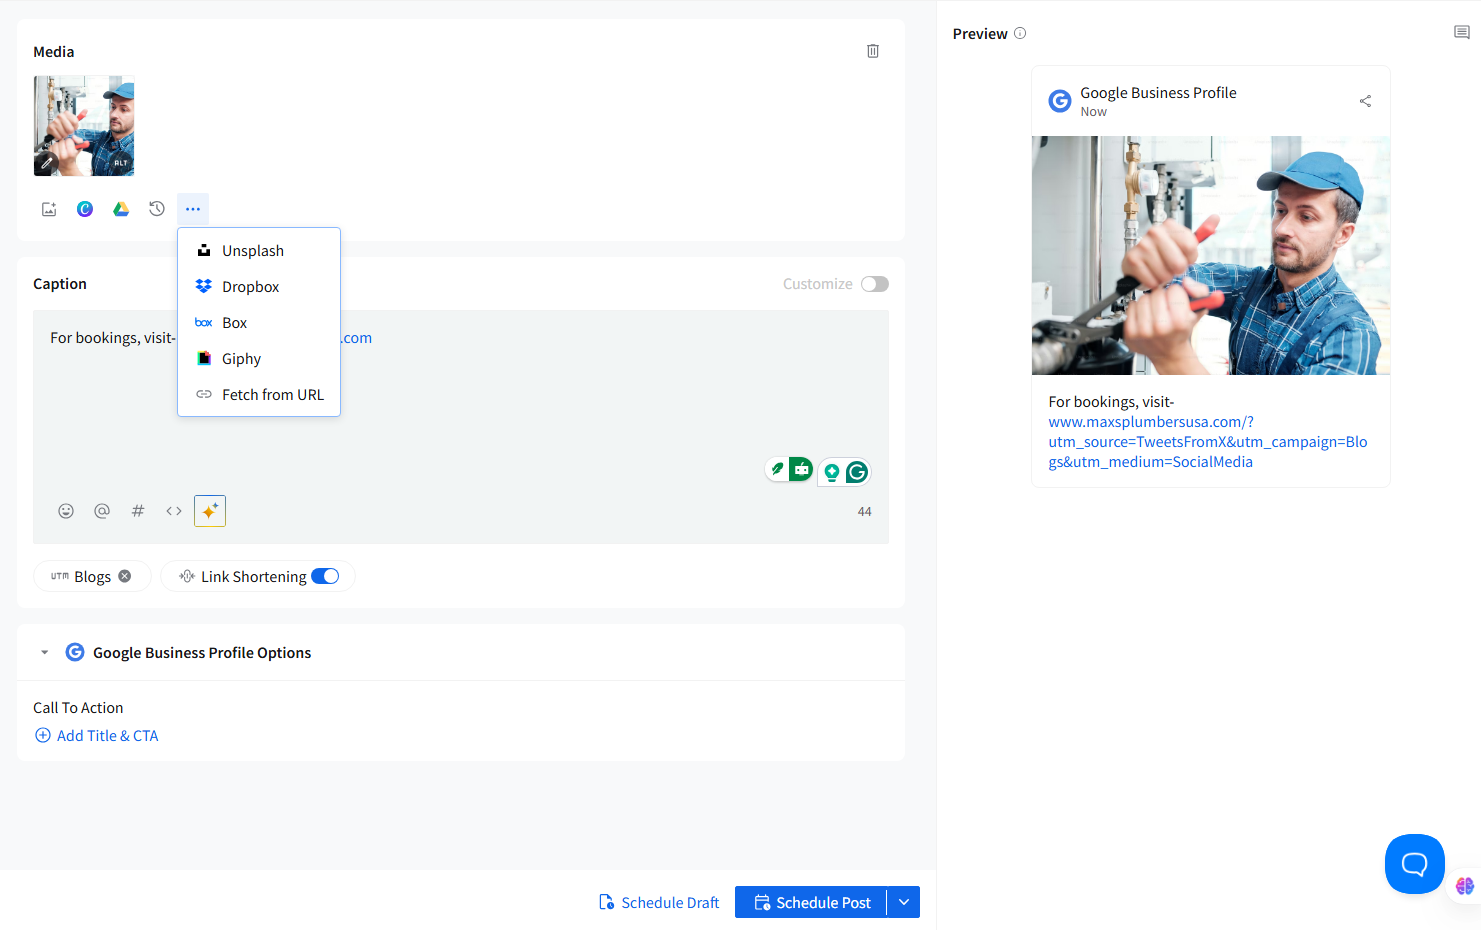
Alternatively, you can use stock images from Unsplash integration. Click Add media from external source, search by keyword, select your image, and click Add Image.
Note:
- GBP supports only images.
- GIFs and videos are not supported due to API restrictions.
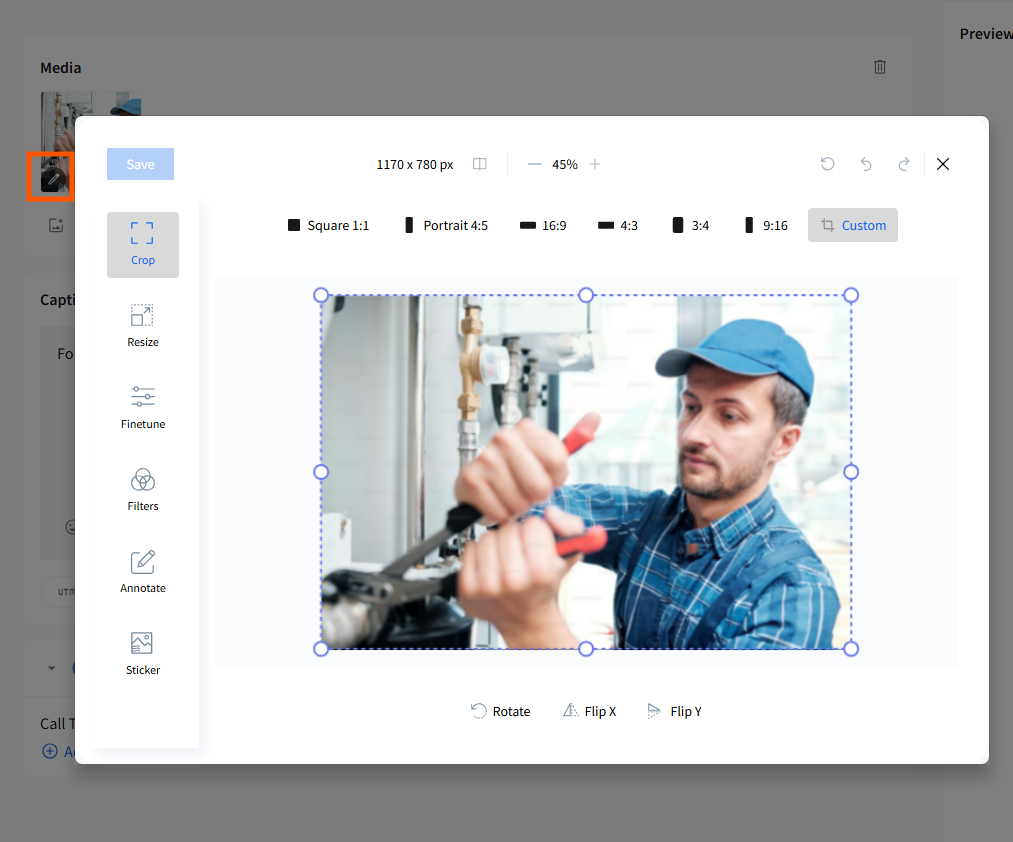
If needed, edit your image using the built-in media editor (crop, resize, filters, etc.).
Using the Call to Action (CTAs) Button
Calls to action are crucial for guiding customers to take specific actions, like visiting your website or booking a service.
- When creating your post, scroll to the Google Business Profile options panel below the caption composer.
- Click on the Call to Action field.
- Choose the appropriate CTA text and Title for your post.
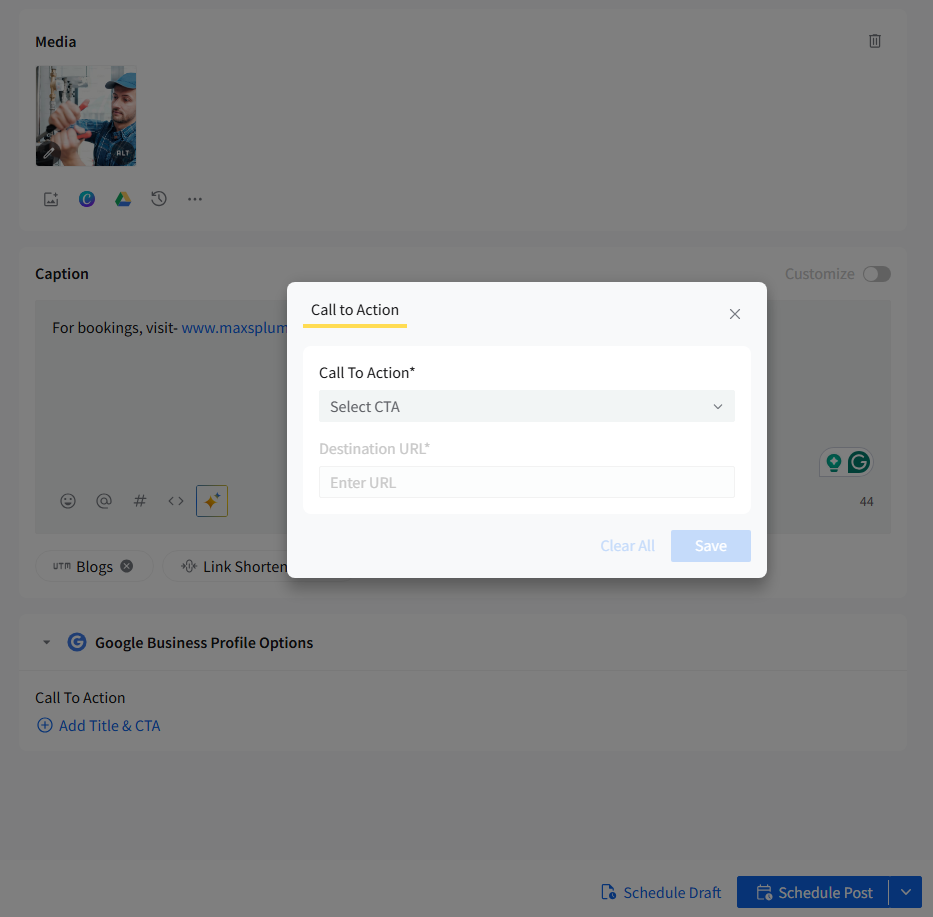
A new field will appear. Paste the link you want to associate with the CTA.
Note: Only one CTA can be added per GBP post.
Publishing Images From Canva
Creating custom images for your GBP posts is easy with the built-in Canva integration, which allows you to design engaging visuals directly within the platform. Here is how you can publish images from Canva:
- Access the Canva integration through SocialPilot from the Media section and create your custom image in Canva.
- Once your design is ready, attach the image to your GBP post and schedule it for publication.
Adding Emojis
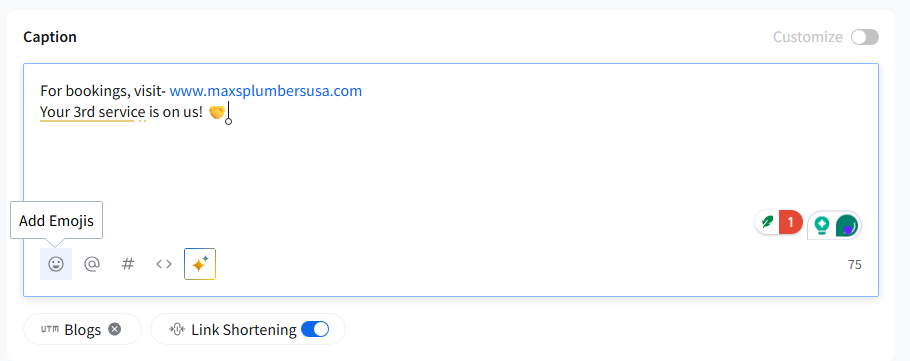
Emojis can add a personal touch to your posts, helping to convey emotions and clarify your message. Follow the steps to add emojis.
- In the Caption box on SocialPilot, click on the emoji icon to find the perfect emoji for your post.
- Simply click to add the selected emoji to your post content, enhancing engagement with your audience.
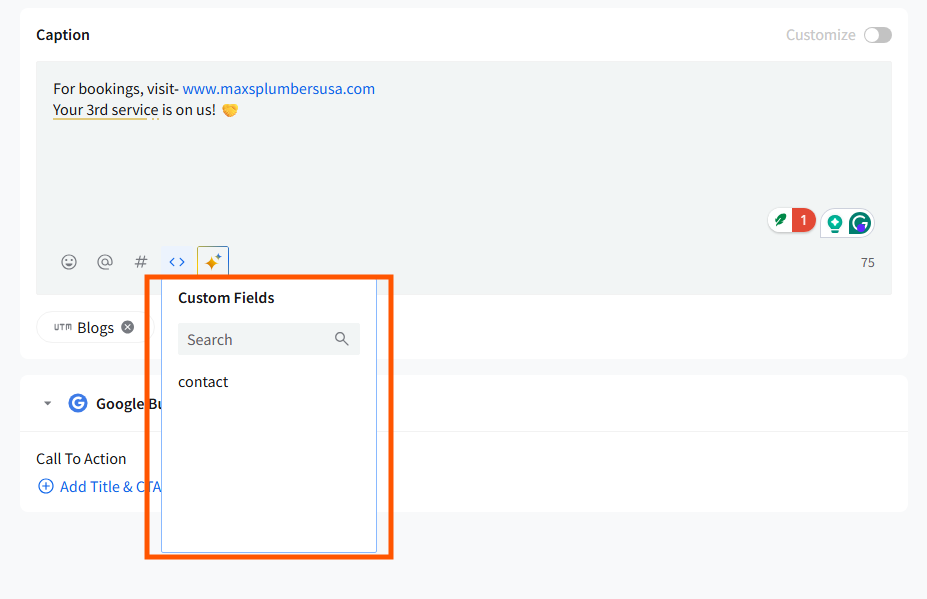
Using Custom Fields
Custom Fields allow you to store frequently used business information, such as:
- Store hours
- Contact number
- Location
- Offer codes
When creating a post, select the saved Custom Field to quickly insert this information without retyping.
Adding Custom UTM Parameters
Custom UTM parameters allow you to track the effectiveness of your Google Business Profile posts by adding predefined tracking links to the URLs included in your post.
When creating a post, you will now see the UTM selector appear directly below the caption field once you insert a URL into your post.
Click on the UTM tag dropdown to select from your saved UTM presets.
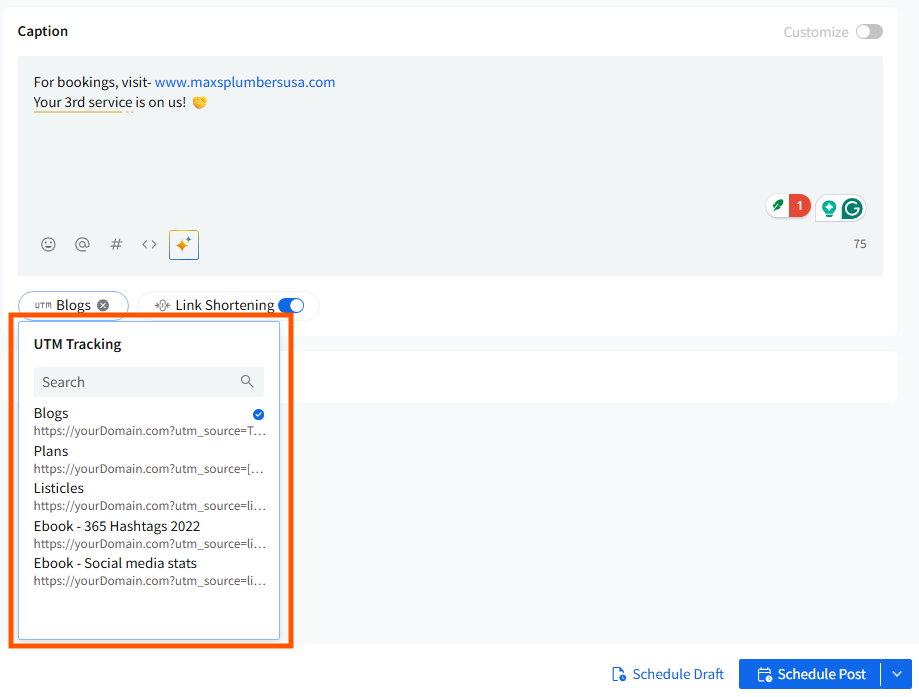
Once selected, the UTM parameter will automatically attach itself to the URL within your caption.
You can search through all your saved UTM presets using the search bar in the dropdown list.
If Link Shortening is enabled, the UTM parameters will remain appended to your link after shortening.
Note:
- UTM presets can be used across all platforms, but the feature is not available for Individual plan users.
- You can remove a selected UTM at any time by clicking the “x” on the applied tag chip.