What is a Content Library on SocialPilot?
A Content Library in SocialPilot is a centralized hub where you can store and organize reusable content. You can create multitudes of these libraries in your workspace for different clients, brands, or businesses that you manage. These libraries allow users to save various pieces of content—such as images, videos, hashtags, captions, and more—for easy access when creating social media posts. This feature reduces the need for manually copying and pasting repetitive content, saving time and streamlining the content creation process. Team members can also contribute to and use libraries, making collaboration more efficient.
You can even save drafts, scheduled posts, or published posts for future use. With the Content Library, you no longer need separate documents or spreadsheets to store information—everything is centralized and ready to use.
In this article
- How to Access the Content Library?
- How to Create a New Library?
- How to Manage Libraries?
- How to Create and Save Content in the Content Library?
- How to Import Content in Bulk to the Library?
- How to Use Saved Content for Posts?
How to Access the Content Library?
Here is how you can access the Content Library on SocialPilot:
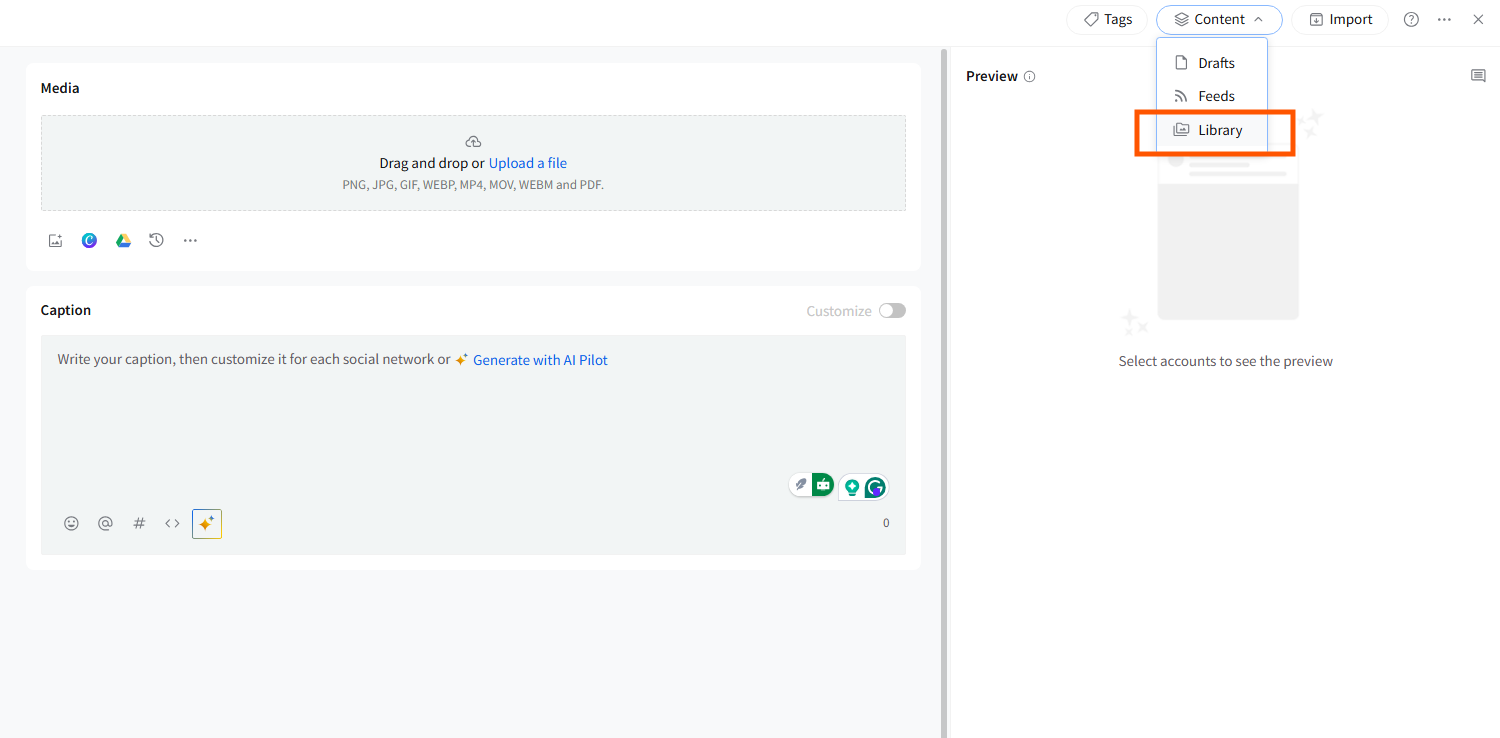
- From the left menu bar of the dashboard, click on Content.
-
You will find two options. From the list, click on Library.


Selecting the Library from the side menu will lead you to the library page, which contains every library you have created. You can click on any of the libraries to access the content assets saved in them.

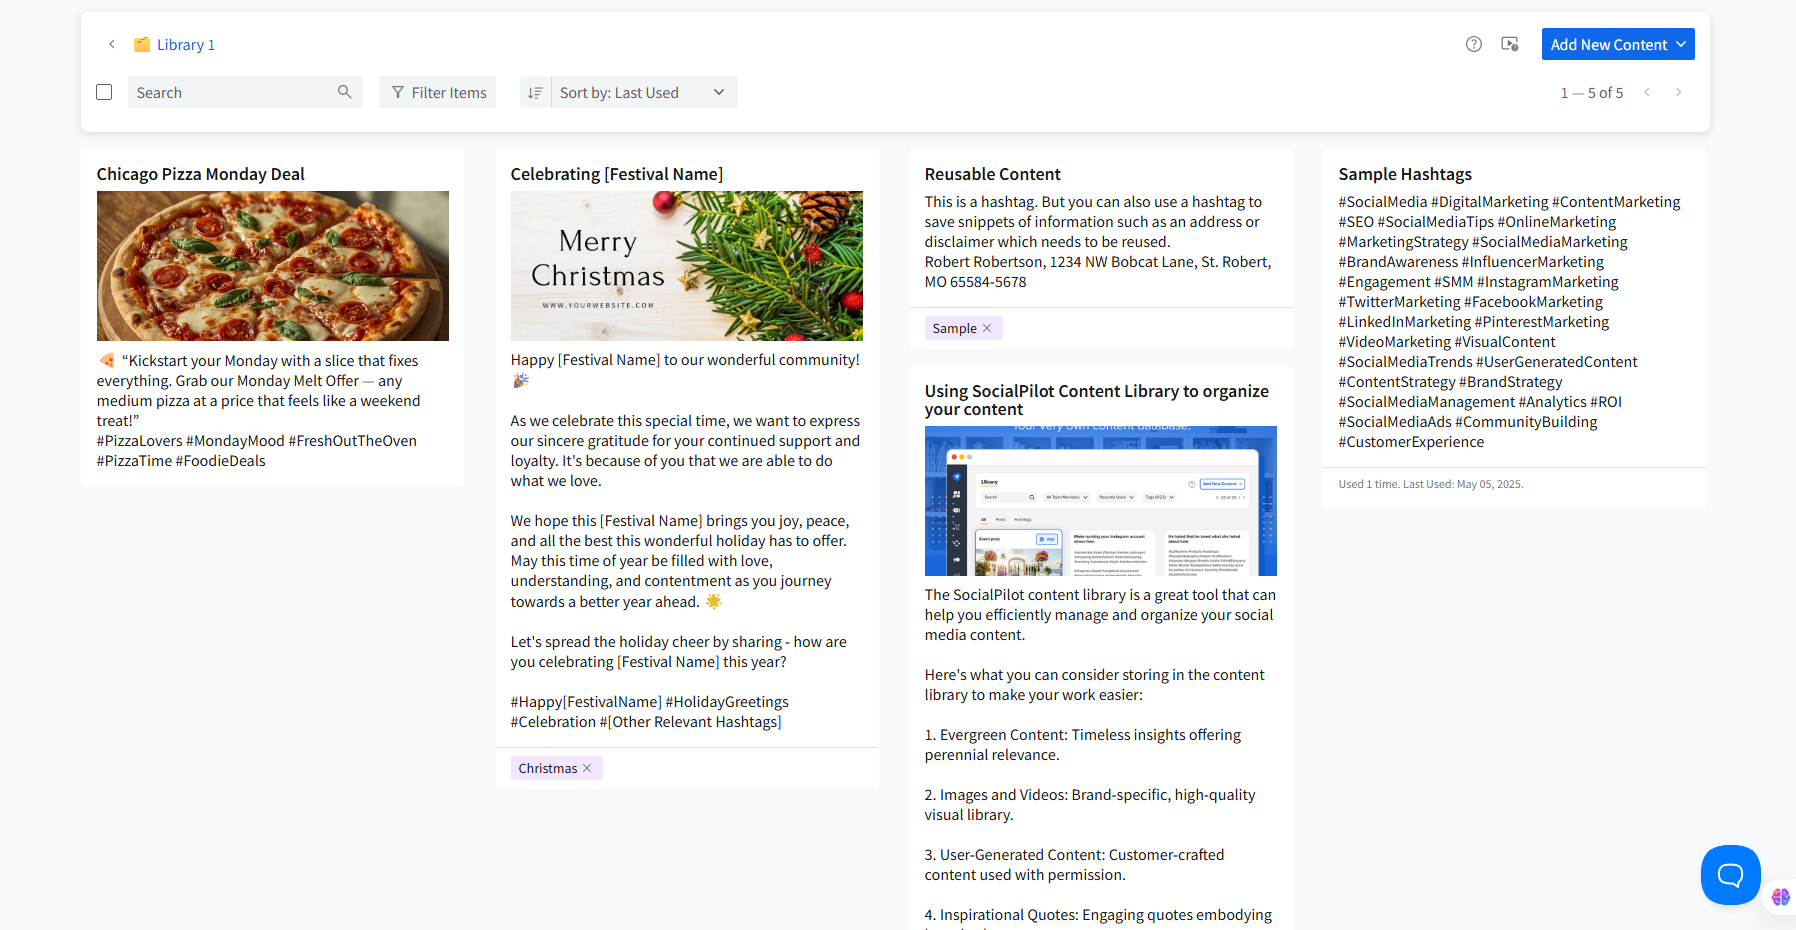
All the saved contents will be visible in the Library. The content cards most recently created will appear first in the queue. By default, all types of content will be visible, but you can click on Hashtags or Posts to see all the contents of that type. You can easily sort out and find the content you want from the Library with the help of filters.
-
Search box: Type in the keywords of your saved Content to find your post.
-
Filter Items: You can filter content based on Types, Teams, and Tags.
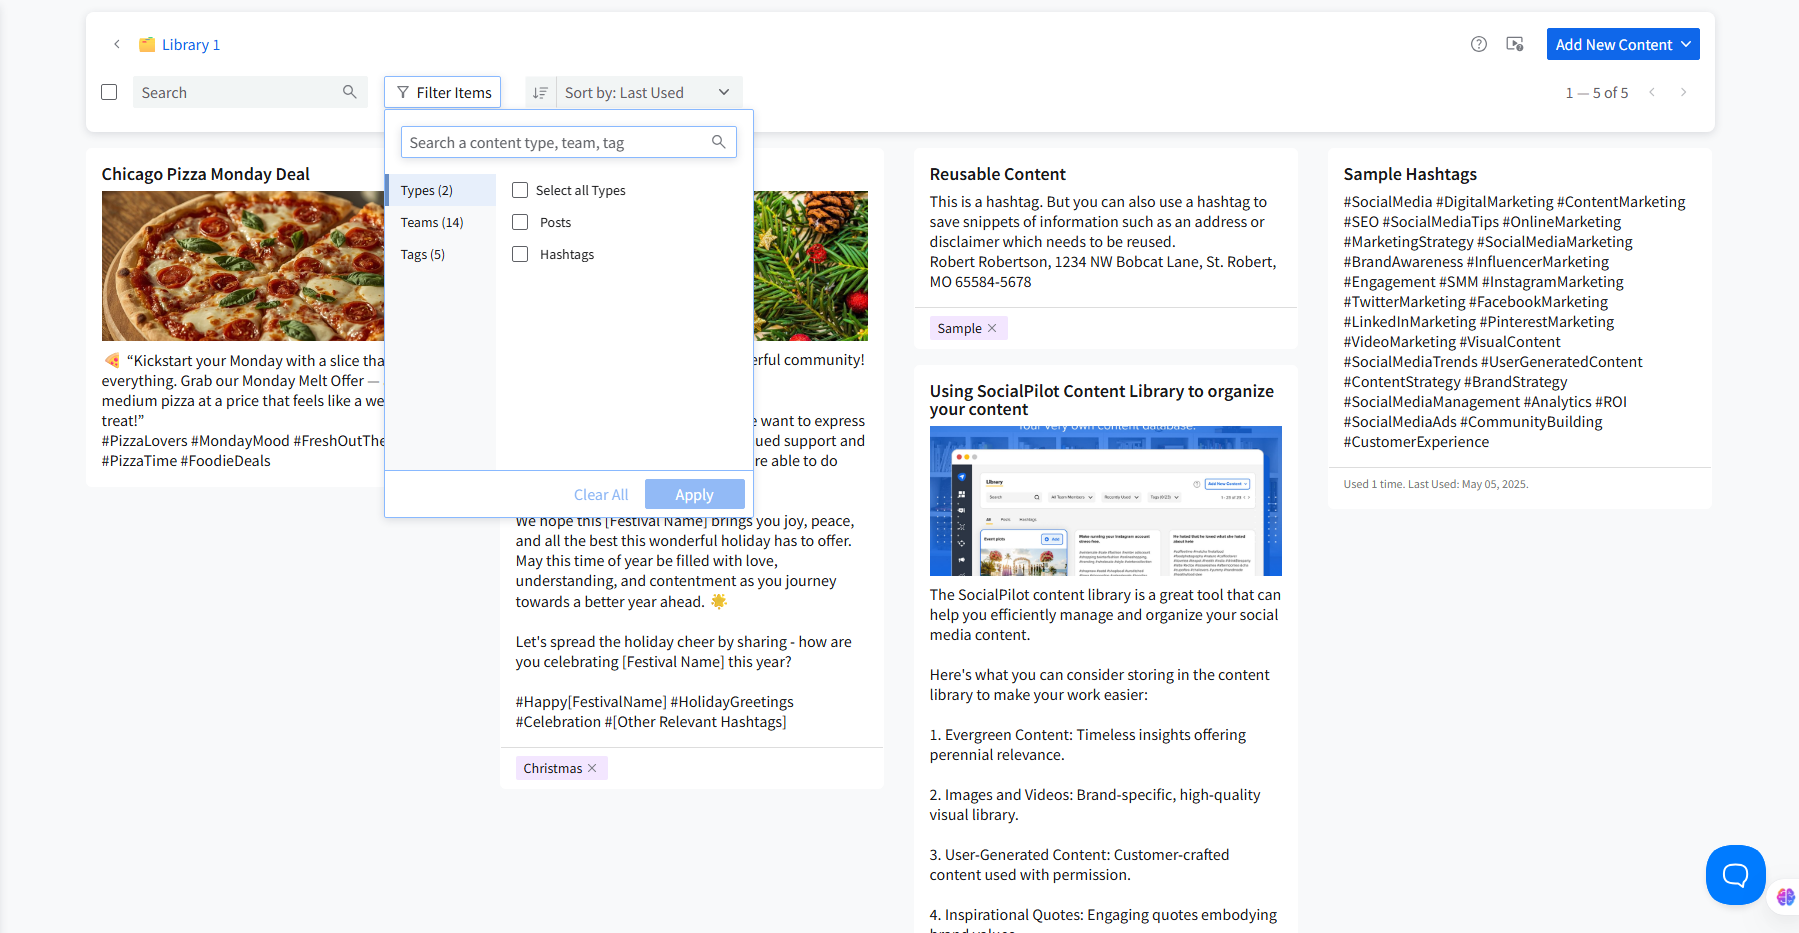


Note: You can select more than one tag to filter out assets in the library.
At the bottom of the tags list, you will find a toggle.
If you keep it in the off position, any asset that matches even a single one of the selected tags will be filtered out. However, if you switch the toggle on, the asset with all the selected tags will be filtered out.
How to Create a New Library?
When you navigate to the Library for the first time, there will be a single Library with all your previously saved content in it. But you can create new libraries, going further to organize your assets based on their usage or ease of navigation.
Let's walk through the process of creating a brand new library:
- Log in to SocialPilot and navigate to the Library.
- Now, click on the Add New Library button to open the modal window for creating a new library.
- A default library name will be provided. You can change the name to something specific and add an emoji, too.
- Now you can set access to the new library.
- User-specific Access: For granular control, you can assign access at the user level. This means you can provide individual users with View or Edit access for the library.
- Role-based Access: Choose who has access to the library by selecting the relevant user roles (e.g., Manager, Content Scheduler, Client). You can assign specific roles with View or Edit access.
Note: User-specific access takes priority over role-based access. If User-A is a content scheduler and a library has granted only view-access to Content Schedulers. However, if the admin has given User-A edit access to User-A specifically, then that user will have edit access.
- After setting the name, emoji, and access preferences, click Create Library to finalize the creation process.
How to Manage Libraries?
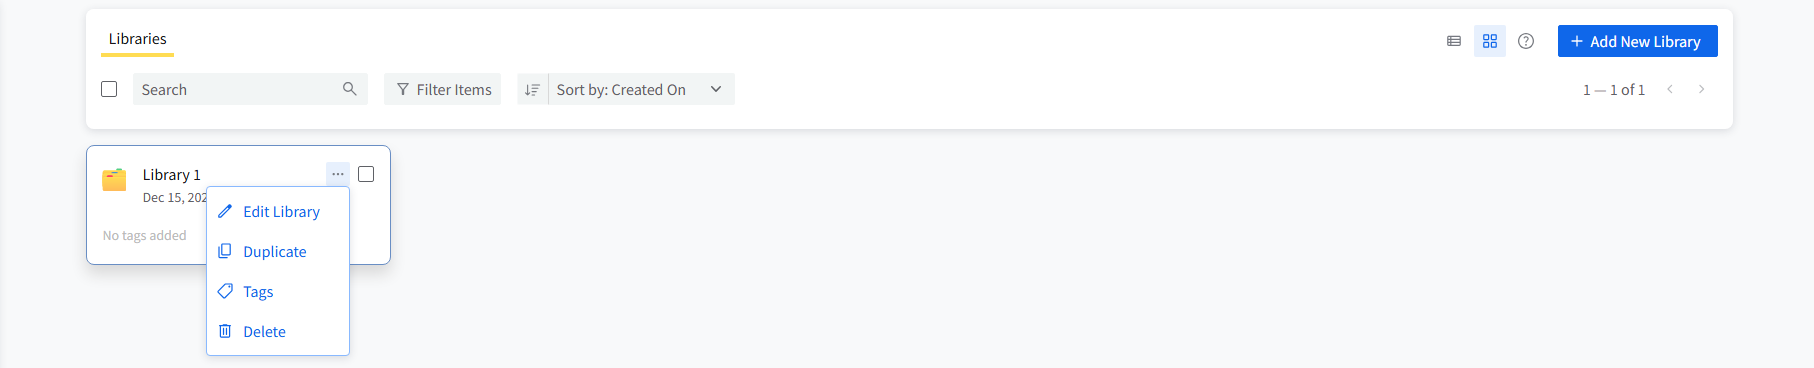
Edit: You can change the name, emoji, and access permissions to a library.
Delete: You can delete entire libraries as well as assets saved in the libraries.
Duplicate: Create an exact copy of an existing library along with the content saved in it for reuse.
Tagging: You can add, remove, or edit tags in an existing library.
Bulk Actions: You can manage access, add or change tags, copy, move, and delete items from the library.
Copy Library Items:
Duplicate individual items (posts, hashtags, etc.) from one library to another. You can copy to one or multiple libraries, keeping the original in the source library.
To add assets to a library, you need to have edit access to the destination library.
Move Library Items:
Move items (posts, hashtags, etc.) from one library to another. The item is deleted from the source library and added to the destination library.
To move a content asset from one library to another, you have to have edit access to the source library as well as the destination library.
How to Create and Save Content in the Content Library?
The Content Library is categorized into Hashtags and Posts for easy access:
Saving Hashtags
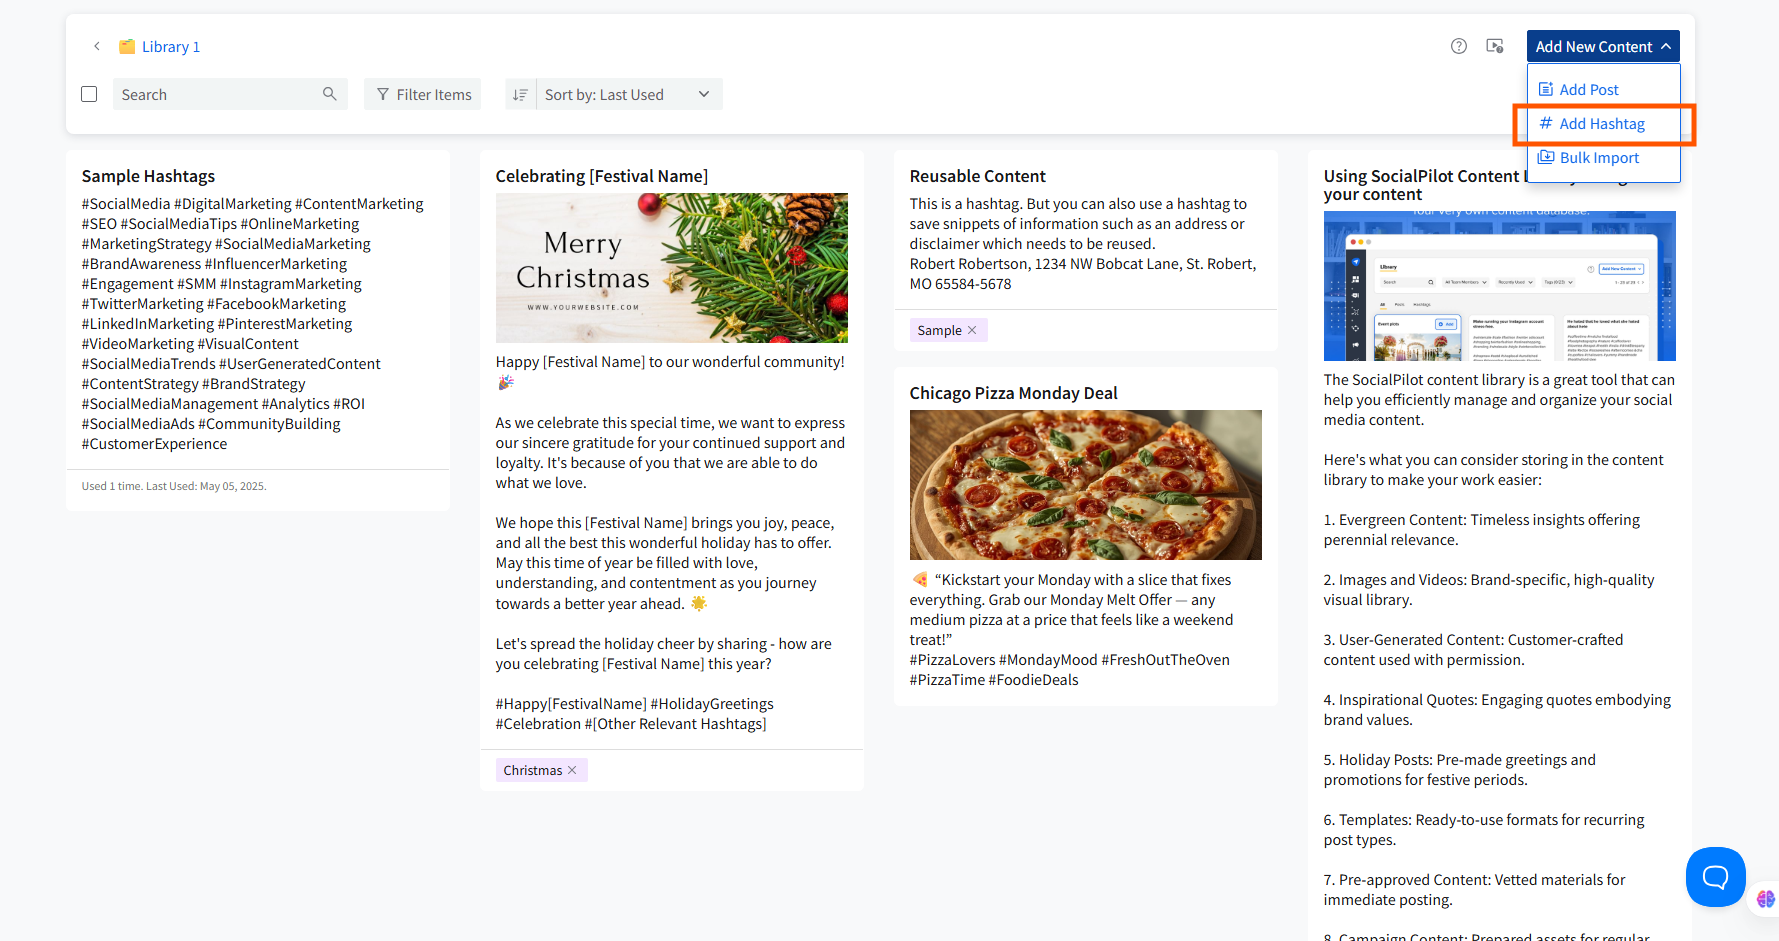
- Go to Content > Library from the left menu. Then select the specific library to which you want to add the hashtag.
-
Click on Add New Content and select Add Hashtag.
- In the pop-up, fill in the required fields:
- Name: Label for your hashtag.
- Description: Enter the content for the hashtag (mandatory field, with character and hashtag counters).
- Tags: Classify the hashtag (up to 10 tags).

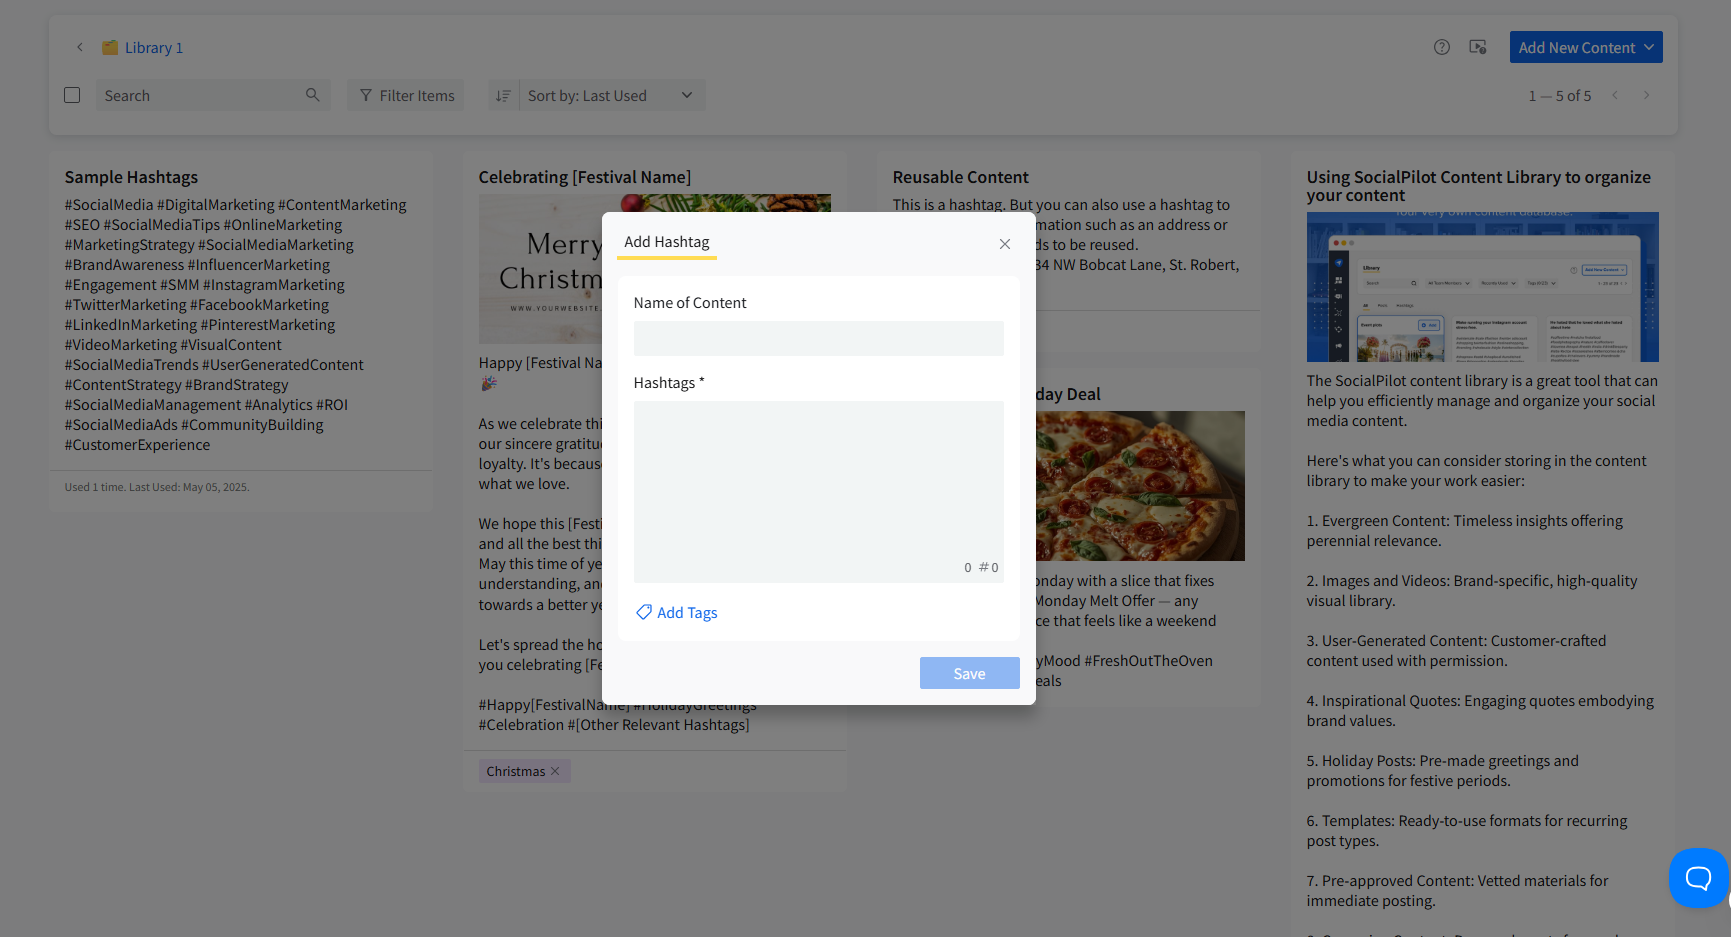
- Click Save to store the hashtag in the Library. You can edit or delete it later by clicking on the card.
Adding Posts From the Library
-
Open the library in which you want to save a post and click Add New Content and select Add Post.

- Add a Name to the post and draft it. Add Tags if you want to.
- The caption will be visible as a single caption for all platforms unless you turn on the customization toggle.
- You can customize posts further by adding images, videos, emojis, GIFs, hashtags, and more. Facebook and Instagram even allow you to add the first comment to the post. You can access this option under specific platform options below the caption area.
- A Preview panel will appear on the right side of the composer to show you how your post will look when it's live on the platforms.
- Once you are done, click Save.

Saving Posts From Drafts or Manage Posts
You can save drafts or scheduled posts directly from the Posts section:
- From Drafts: Hover over the draft and click Save to Library, select a library, and save it.
-
From Manage Posts: Save any post from the Queued, Unscheduled, Error, Delivered, or Pending Review lists to the Library by clicking on Save to Library.


💡Note: Posts saved from platform-specific tabs will be copied to the Original Draft in the Library and may lose some customizations.
💡Note: The Tags you add to your content can also be used in Analytics to measure how your campaigns perform over time.
How to Import Content in Bulk to the Library?
SocialPilot allows users to import posts in bulk and save them to the content library for later use, as well as schedule them in one go immediately.
The process of saving bulk posts to one of the libraries is very similar to that of scheduling them, involving the use of a CSV file.
Create CSV File
Creating a CSV file to upload content in bulk to the library can be done using Excel.
The data has to be categorized column-wise. The columns in the file are as follows:
- 1st Column: Any text-based content, including captions/descriptions, hashtags, and links.
- 2nd Column: Links to images, up to 35 URLs, or a single video separated by semi-colons (;).
- 3rd Column: First comments for posts.
- 4th Column: This space is for any tags (up to 10) you want to assign to the content.
- 5th Column: Label the content type between Post or Hahstag.
- 6th Column: Give a title to your content to make it discoverable in the library.
Here’s an example of how your data should look in Excel:

Once you have your content in the above format, save the CSV file as described in our article.
Import Posts in Bulk
Now, follow these steps to save up to 500 posts to your SocialPilot library at once. We will describe two ways to do it.
- Log into SocialPilot and click on Content >> Library >> select one Library.
-
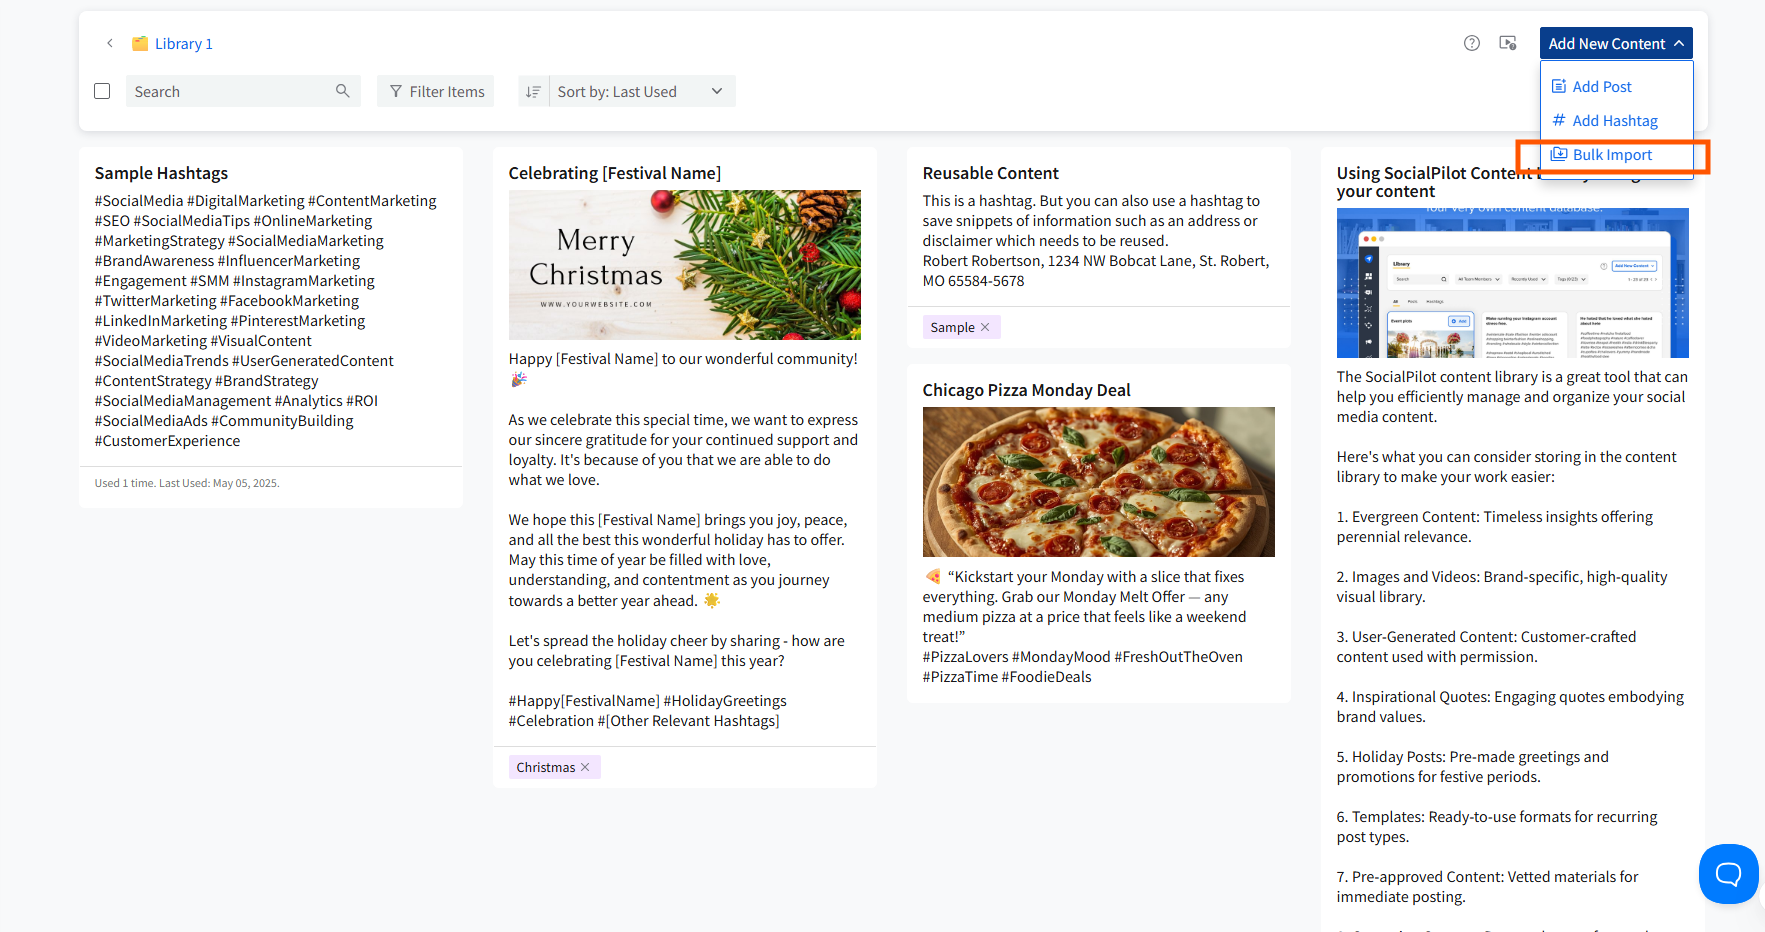
Click on the Add New Content dropdown and select Bulk Import.
-
Now drag and drop or Browse and select the CSV file with all your content details.

-
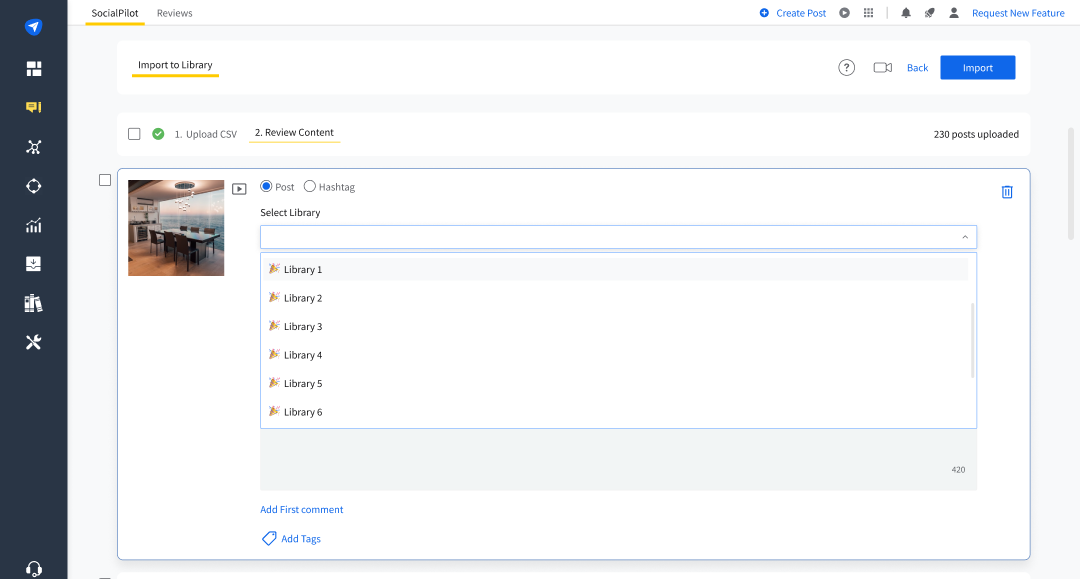
Once you select and upload your CSV, the preview of your content will appear from where you can edit and add details like the first comment, title, tags, images, etc.

-
Select the library for each post so they will be saved in these designated locations.
- Once you’re done perfecting your content, click on Import to complete the process.


Thus, all your posts from the CSV file will be saved in the Content Library in SocialPilot. They will be saved as individual items rather than a group of assets. You will be able to find each of them using their type or the titles you assigned while saving them.
How to Use Saved Content for Posts?
Once your content is stored in the Library, you can quickly add it to your social media posts.
Add Items Directly from the Library Dashboard
- Go to the Library dashboard, open the one from which you want to fetch content, and find the content card you want to use.
-
Hover over the card and click on the plus sign to add.
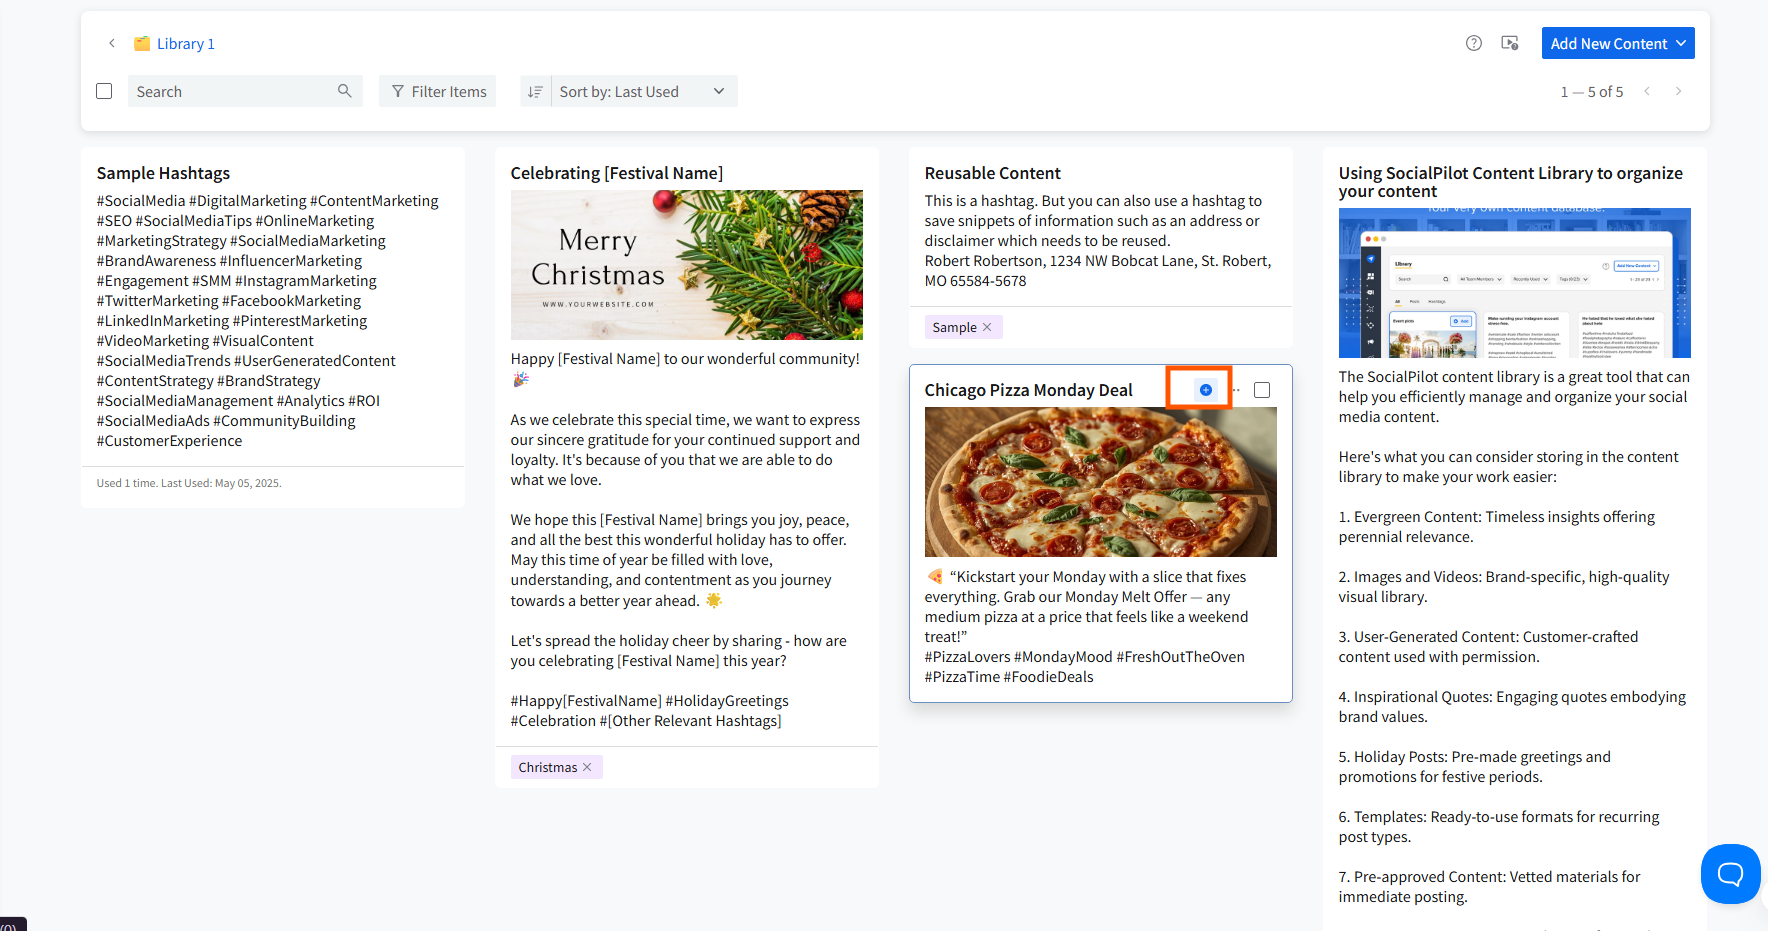
- This will open the new Create Post composer, with the saved caption automatically inserted into the Caption field and any saved media.

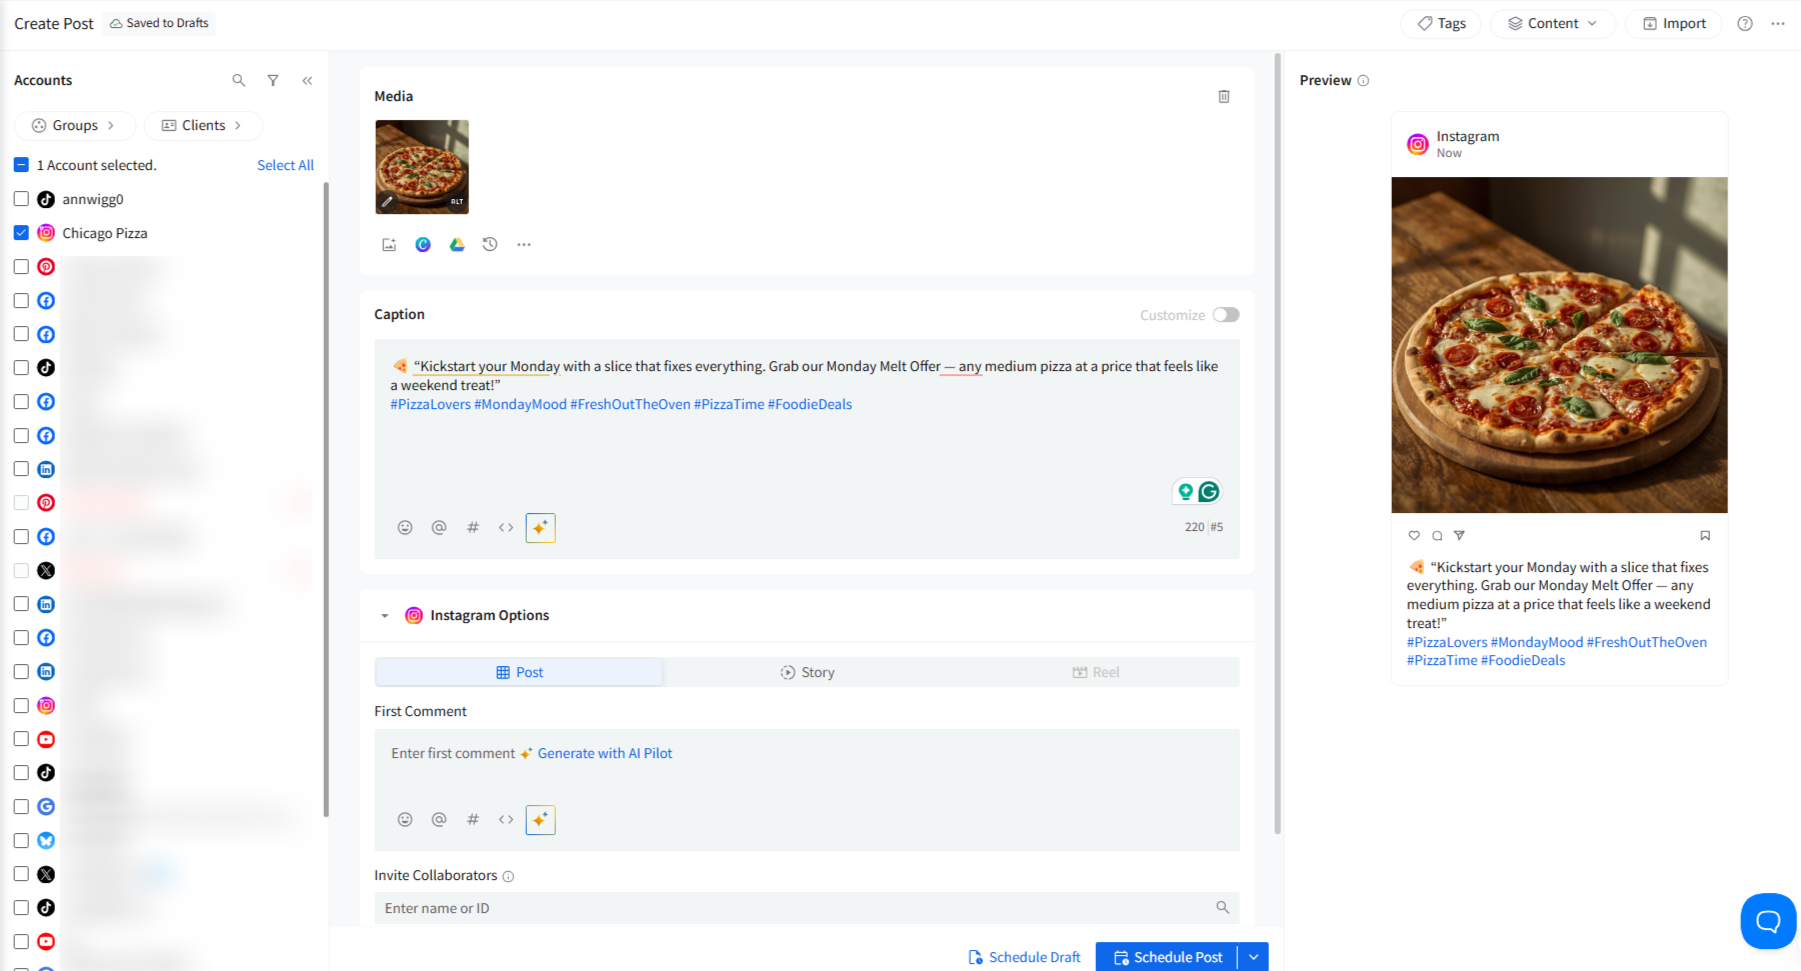
Add Content From the Create Post Module
- From the Create Post window, compose the post by putting in the relevant information.
-
Now, click on the Content option given on the top-right corner of the Create Post dashboard. Under it, select the Library option.

👉 Note: Users can bulk select and delete posts from the Content Library.
How to Manage Library Access When Inviting Users?
Whilst you can set the access to a library for specific users as well as roles, you can customize access for users while creating user invites. This way, you won't have to go to every library and set up access for a newly added user.
Here are the steps to customize access for a new user you invite with a custom invite link:
- Go to your Profile menu and select Users.
- Click on the Invite User button.
- After adding the relevant email address, click on Edit in the SocialPilot section.
- Select the role you want to assign to this new user.
- Now, locate the Library Access checkbox and click on it.
- You have to select the libraries you want to grant access to this user by picking from the library dropdown list.
- When you select a library to make it accessible, you will see the Edit button beside the name. If you click on it, you can select where you want to give edit access or view access to that library to the new user.
- Now go ahead with the rest of the setup.