How To Send a Quick Review Request in SocialPilot Reviews?
Quick Review Request allows you to send a one-time review request or a request campaign using a template instantly without setting up a full campaign. This is useful when you want to reach out to a customer immediately.
In this article:
- How To Send Quick Review Request to a New Contact?
- How To Send Quick Review Request to an Existing Contact?
- How To Send Quick Review Requests in Bulk?
- How To Preview and Edit Before Sending?
- How To Update Brand-Level Default Campaign Settings?
How To Send Quick Review Request to a New Contact?
Follow these steps to send a quick review request to a new contact.
-
Click the Quick Request icon in the top navigation bar of SocialPilot Reviews.

-
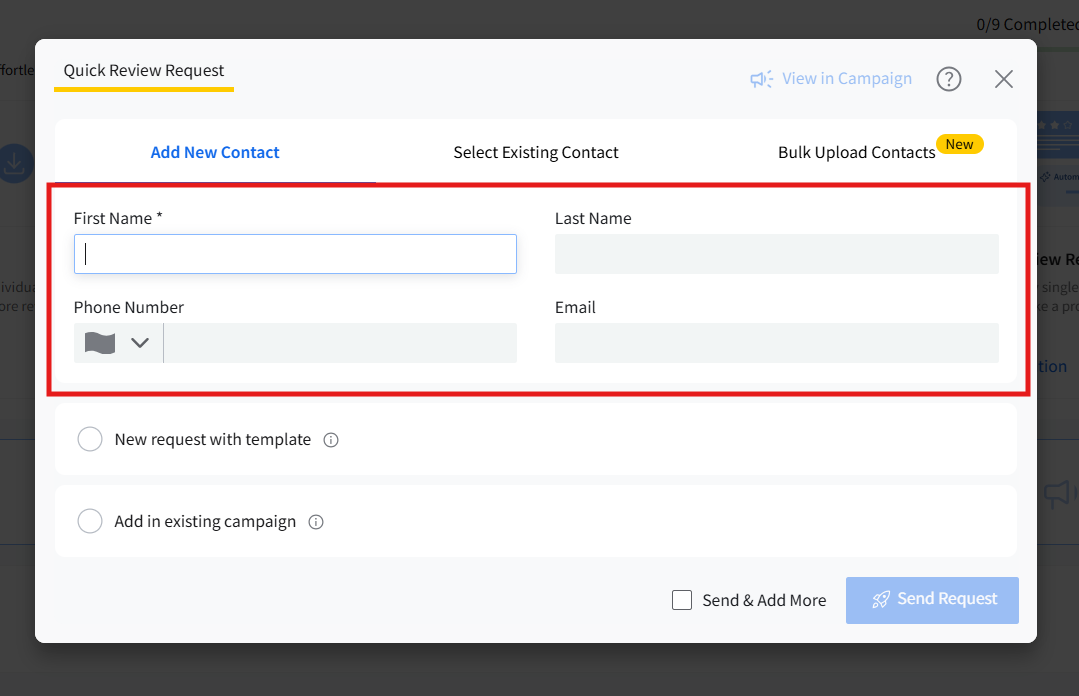
In the Quick Review Request modal, make sure New Contact is selected.
Note: Quick Review Requests are sent from the brand and location currently selected in the top bar.
- Enter the contact details:

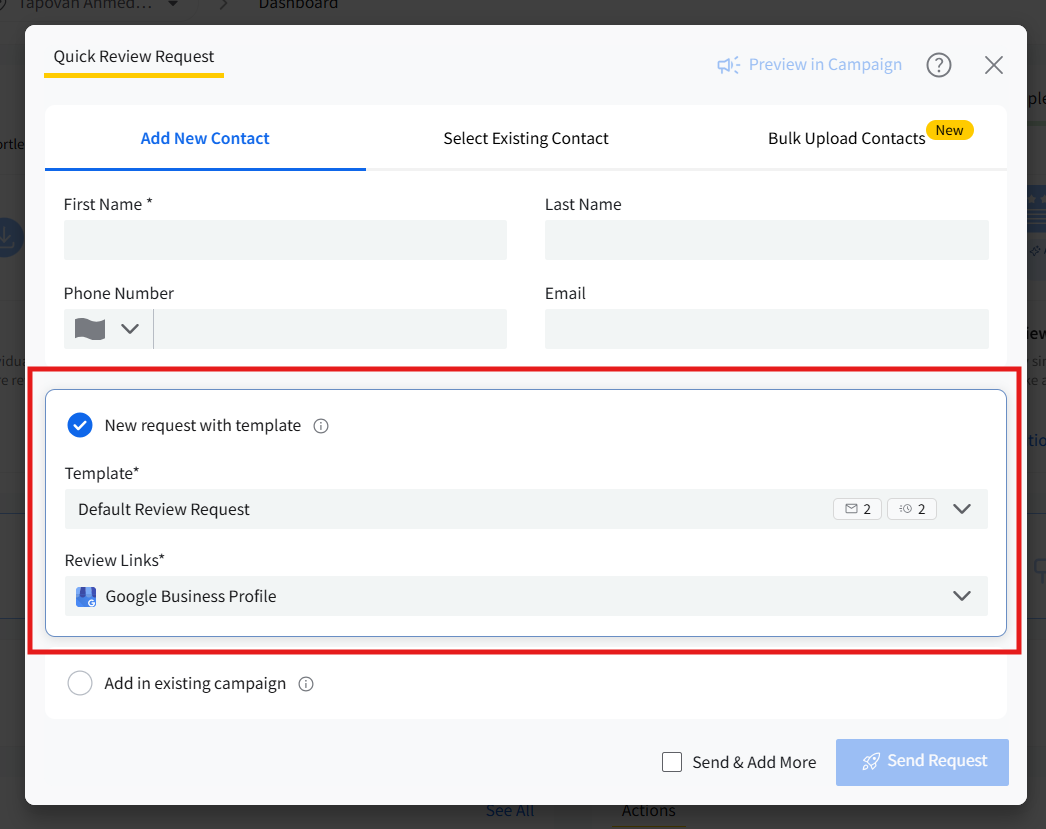
- Choose how you want to send the review request:
-
Select a Template to create a new campaign automatically
Based on the template setup, you can choose which review link, feedback form, or both will be used in the request instead of relying on default settings.
- Or select Existing Campaign.
-
- Click Send Request.
Note: If Duplicate Request Prevention (DRP) is enabled for the selected brand, you may see an error message when sending the request. In this case, the request cannot be sent.
If you select a template, a new campaign will be created and the request will be sent immediately using Start at Launch.
If you select a live campaign, the contact will be enrolled instantly and the first message will be sent right away.
You can track the delivery and engagement status of Quick Review Requests from the Campaign History tab under Reputation >> Campaign. Read more about how to do it by visiting this link.
How To Send Quick Review Request to an Existing Contact?
You can send a quick review request to a contact already saved in the selected location.
Primary Method
- Click the Quick Request icon in the top navigation bar of SocialPilot Reviews.
-
In the Quick Review Request modal, select Select Existing Contact.
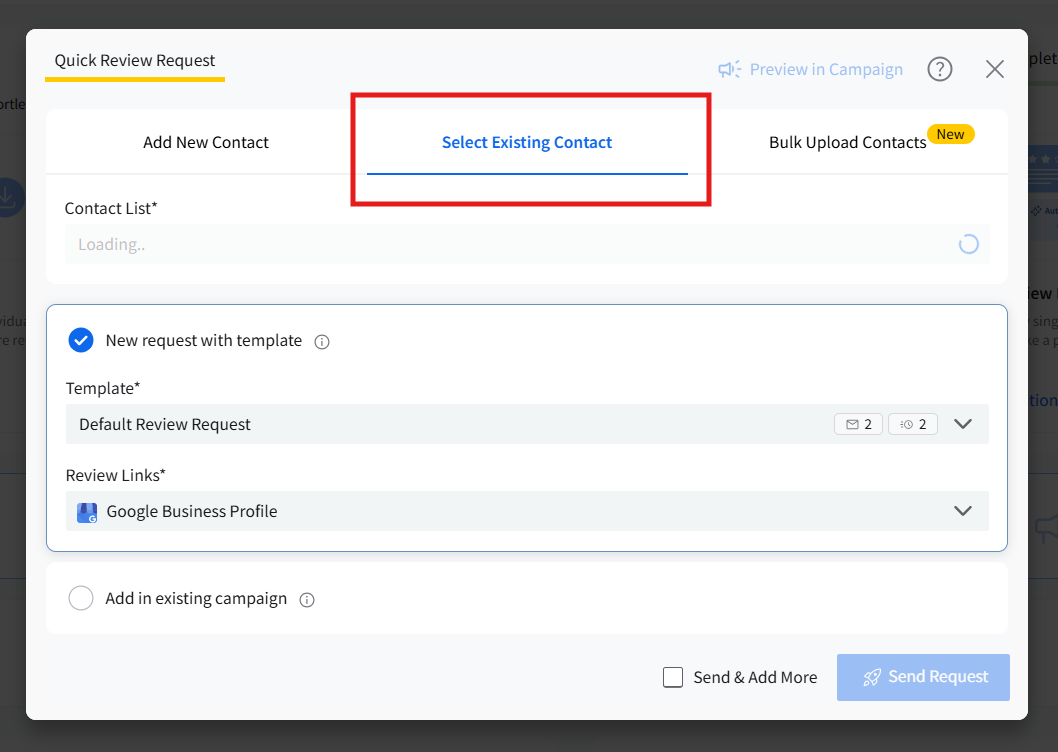
- Search and choose the contact from the Contact List dropdown.
- Choose how you want to send the review request:
-
Select a Template to create a new campaign automatically
Based on the template setup, you can choose which review link, feedback form, or both will be used in the request instead of relying on default settings.
- Or select Existing Campaign.
-


- Click Send Request.
Note: Contacts under Duplicate Request Prevention (DRP) appear with a lock icon and cannot be selected.
If you select a template, a new campaign will be created and the request will be sent immediately using Start at Launch.
If you select a live campaign, the contact will be enrolled instantly and the first message will be sent right away.
Alternate Way to Send to an Existing Contact
You can also send a request directly from the Contacts list.
-
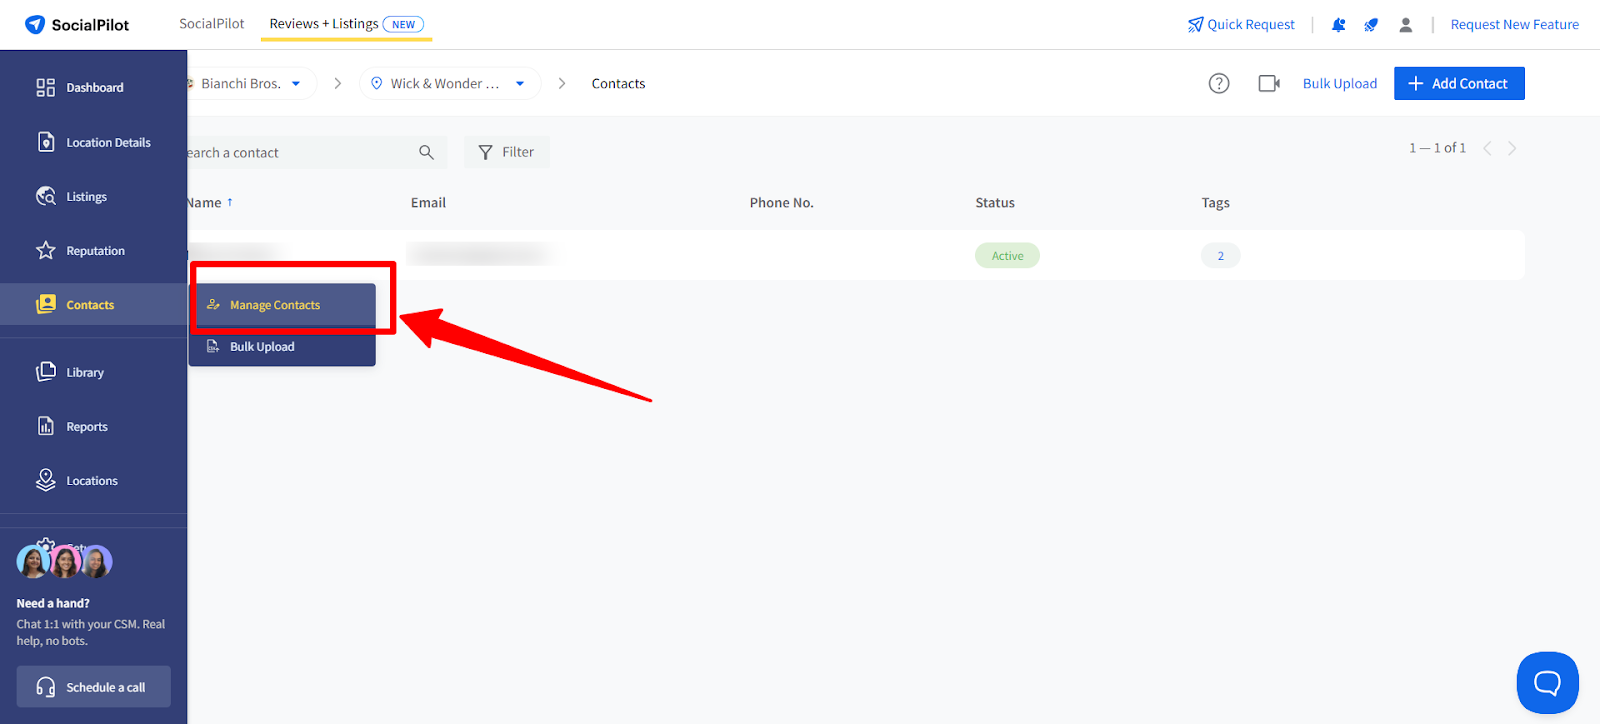
Go to Contacts from the left menu and click Manage Contacts.
-
Hover over the contact and click the Send Quick Request icon.
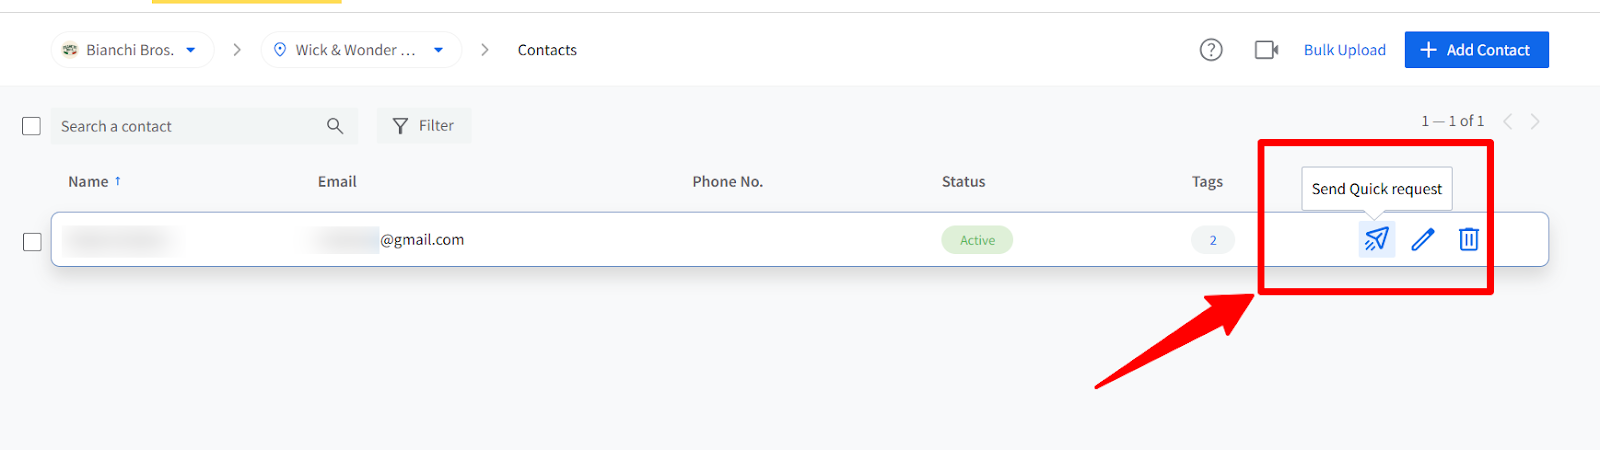


The Quick Review Request modal will open with the contact already selected. Continue by choosing a Template or Live Campaign and click Send Request.
- Choose a Template or an Existing Campaign.
- Click Send Request to launch the review workflow.
If the contact is already enrolled in the selected campaign, you will see a message: “Contact already enrolled in selected campaign.”
How To Send Quick Review Requests in Bulk?
You can send quick review requests to multiple customers at once using the Bulk Upload Contacts option.
- Click the Quick Request icon in the top navigation bar of SocialPilot Reviews.
- In the Quick Review Request modal, select Bulk Upload Contacts.
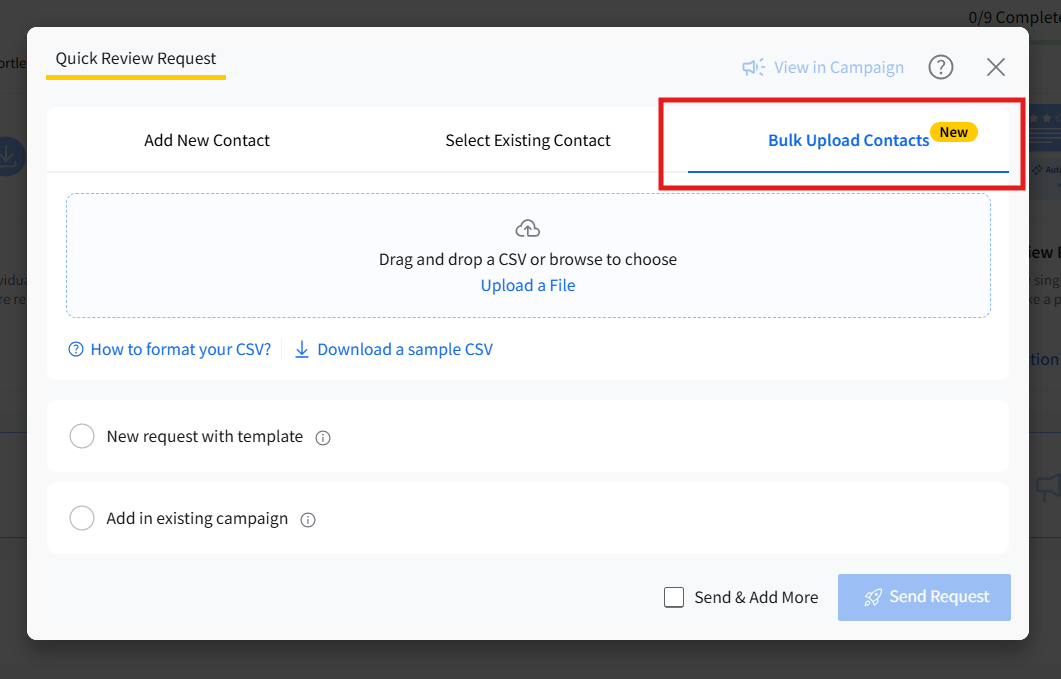
- Drag and drop a CSV file or click Upload a File to add your contacts.
Note:
Only properly formatted CSV files are supported. You can refer to the sample CSV for correct formatting.
Once uploaded, the file will be scanned for errors. A summary will show valid contacts and any issues found.
-
Choose how you want to send the review request:
-
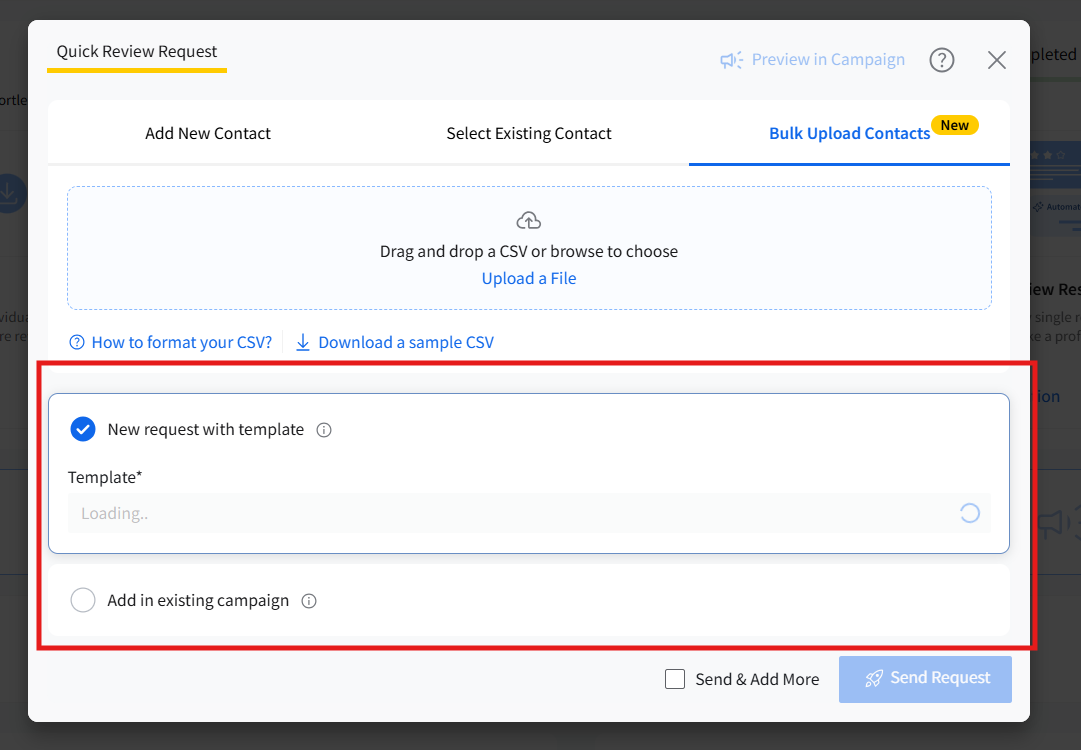
Select a Template to create a new campaign automatically
Based on the template setup, you can choose which review link, feedback form, or both will be used in the request instead of relying on default settings.
- Or select Existing Campaign.
-
- Click Send Request.
Valid contacts will receive review requests instantly. Any invalid or restricted contacts will be listed in a downloadable error file.
Note:
- A maximum of 100 quick requests are sent instantly; the remaining contacts are scheduled in the campaign.
- Duplicate contacts, invalid details, or restricted entries will be flagged.
- Requests follow Start at Launch, ensuring immediate delivery to initial contacts.
- You can use "Send & Add More" to quickly upload and send a new batch.
- Previously selected campaign or template remains pre-filled for faster repeat actions.
How to Preview and Edit Before Sending?
If you want to review the workflow before sending the request:
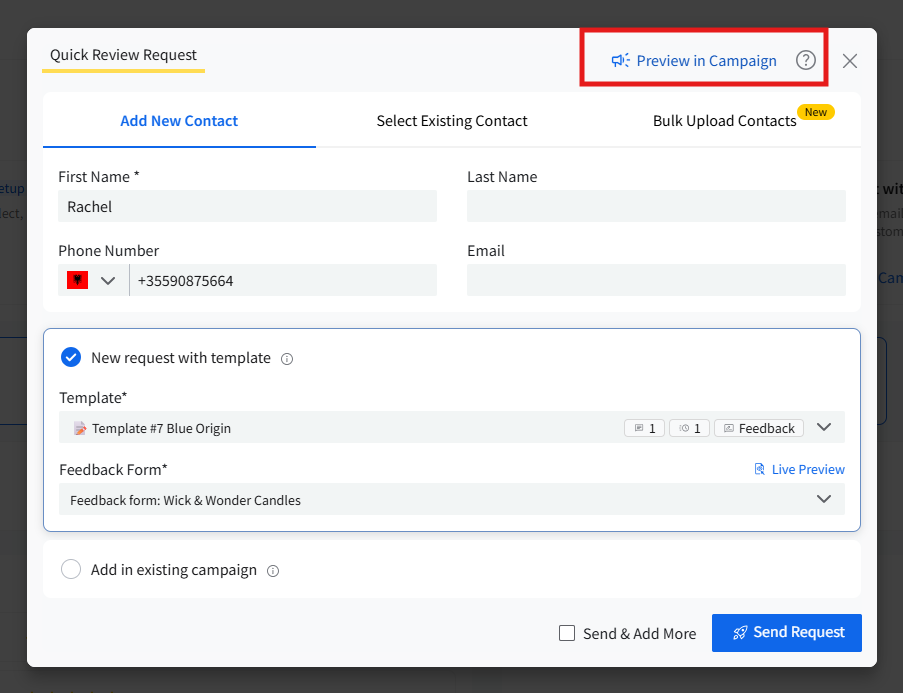
- Select a template in the Quick Review Request screen.
-
Click Preview in Campaign.
-
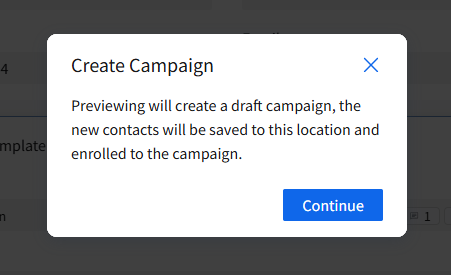
A confirmation message will appear explaining that previewing will create a draft campaign and save the contact to the selected location. Click Continue.
- A draft campaign will be created automatically.
- Review or edit the workflow steps, feedback page settings, or message content as needed.
-
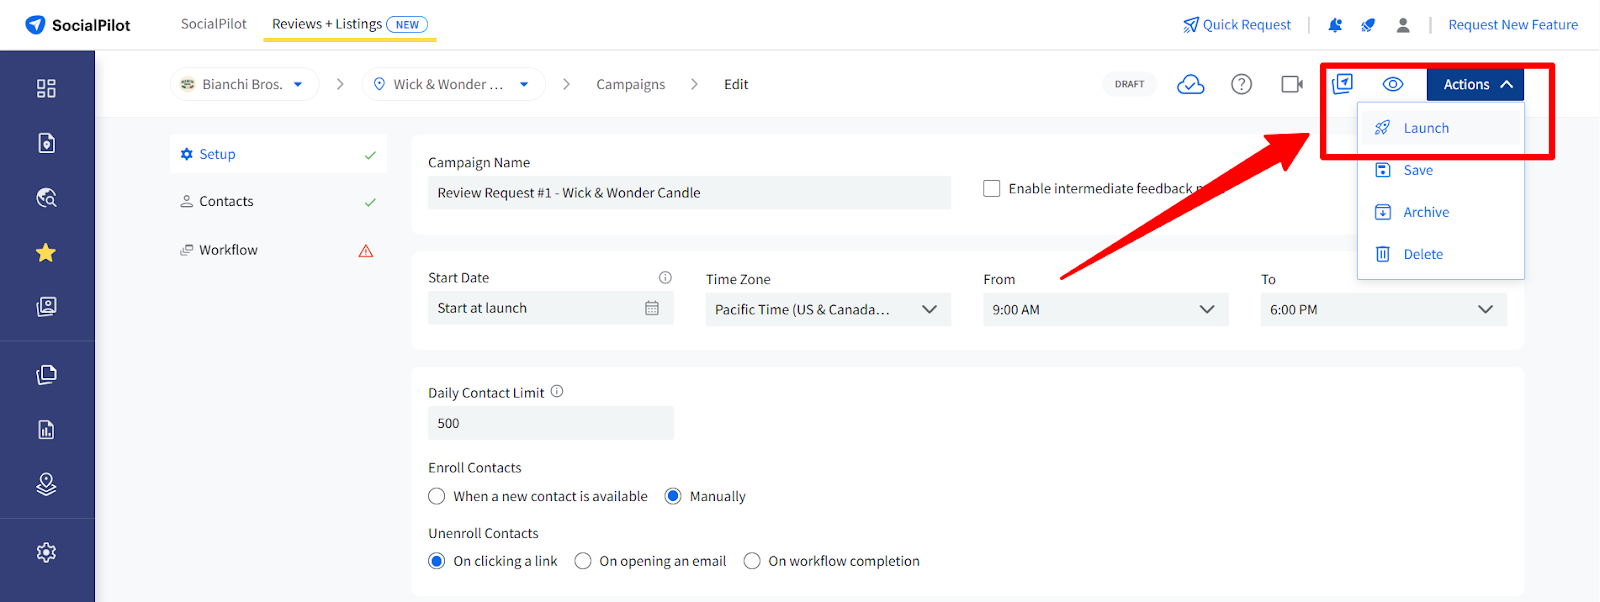
Click Launch Now to send the request immediately.


Tip: Draft campaigns created from Preview will remain in the Campaigns list until you launch or delete them.
How To Update Brand-Level Default Campaign Settings?
From the Campaign Dashboard
- Go to the sidebar and click on reputation. Select manage campaigns under campaigns.
- Click on Edit Campaign Defaults in the top right corner, next to the Create Campaign button.
- Update the review link, feedback form, and other default settings as needed.
Click Save to apply the changes.

From the Campaign Setup Screen
- Go to the sidebar and click on reputation. Select manage campaigns under campaigns. Open the campaign you want to make changes to.
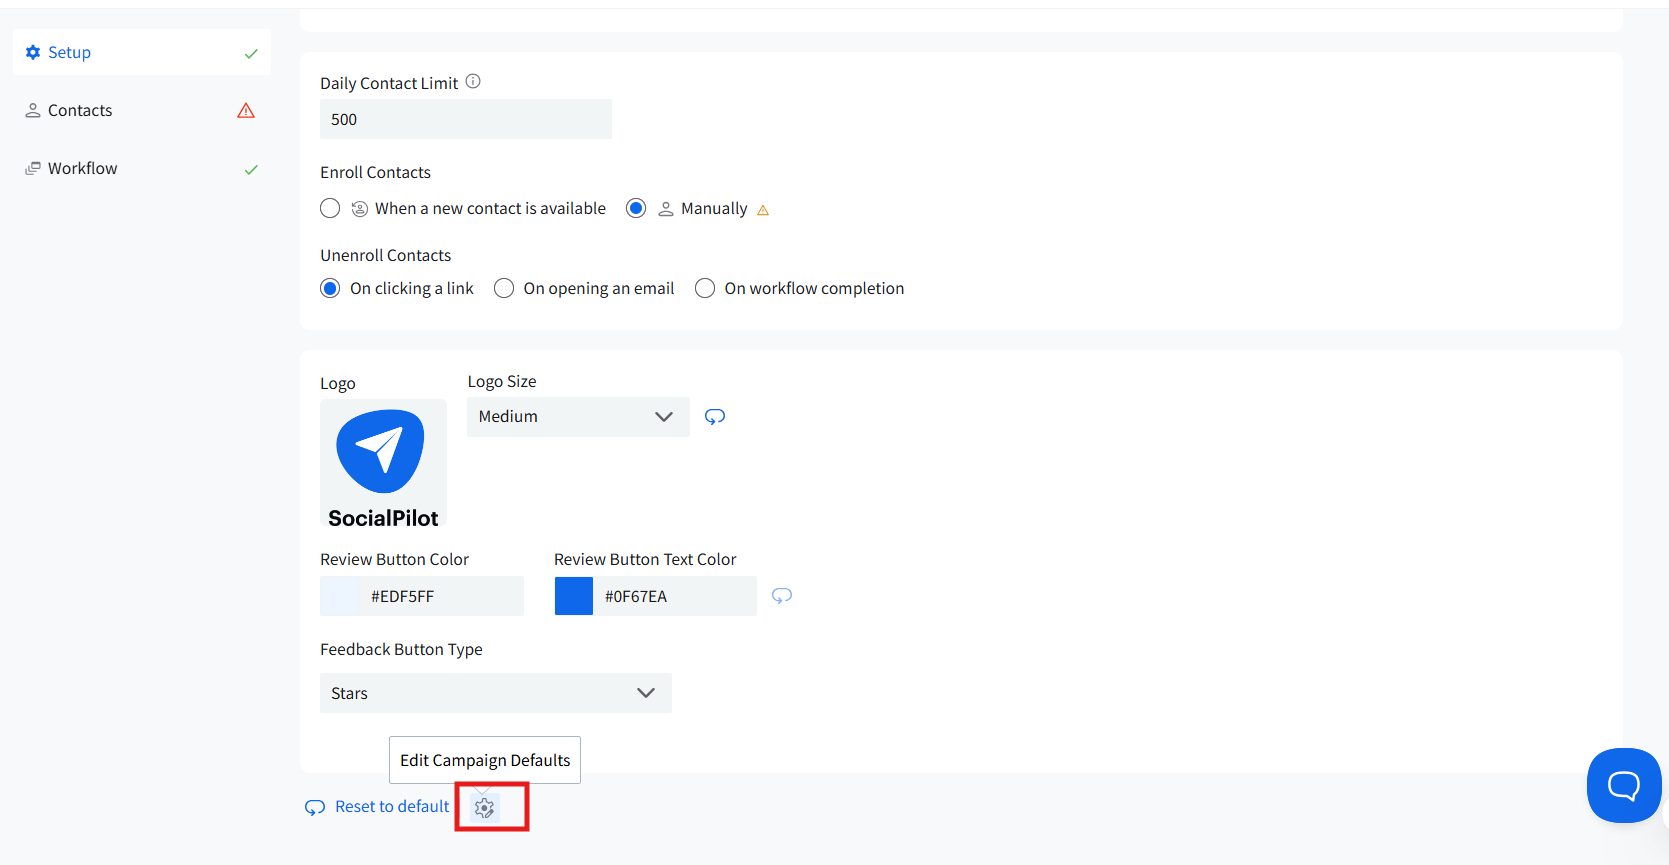
- In the campaign setup screen, click on Edit Campaign Defaults at the bottom.
- Make the required changes.
Click Save to apply the updates.
Notes
- Quick Review Request uses Start at Launch. The first 30 contacts in any campaign receive the request immediately. Remaining contacts follow the campaign’s daily schedule.
- If the contact already exists, you will see: “Contact already exists.”
- Locked locations cannot be used for Quick Review Request.
- Only live campaigns appear when choosing Enroll in Existing Campaign.
- If Duplicate Request Prevention (DRP) is enabled, restrictions depend on the contact’s review history:
- A date is displayed for the contact that has already received a review request and is protected until that date.
- Dates are not displayed for the contacts that are enrolled in another campaign, but the first request has not yet been sent. Since the waiting period begins only after the first message is delivered, an end date cannot be calculated.